 Save
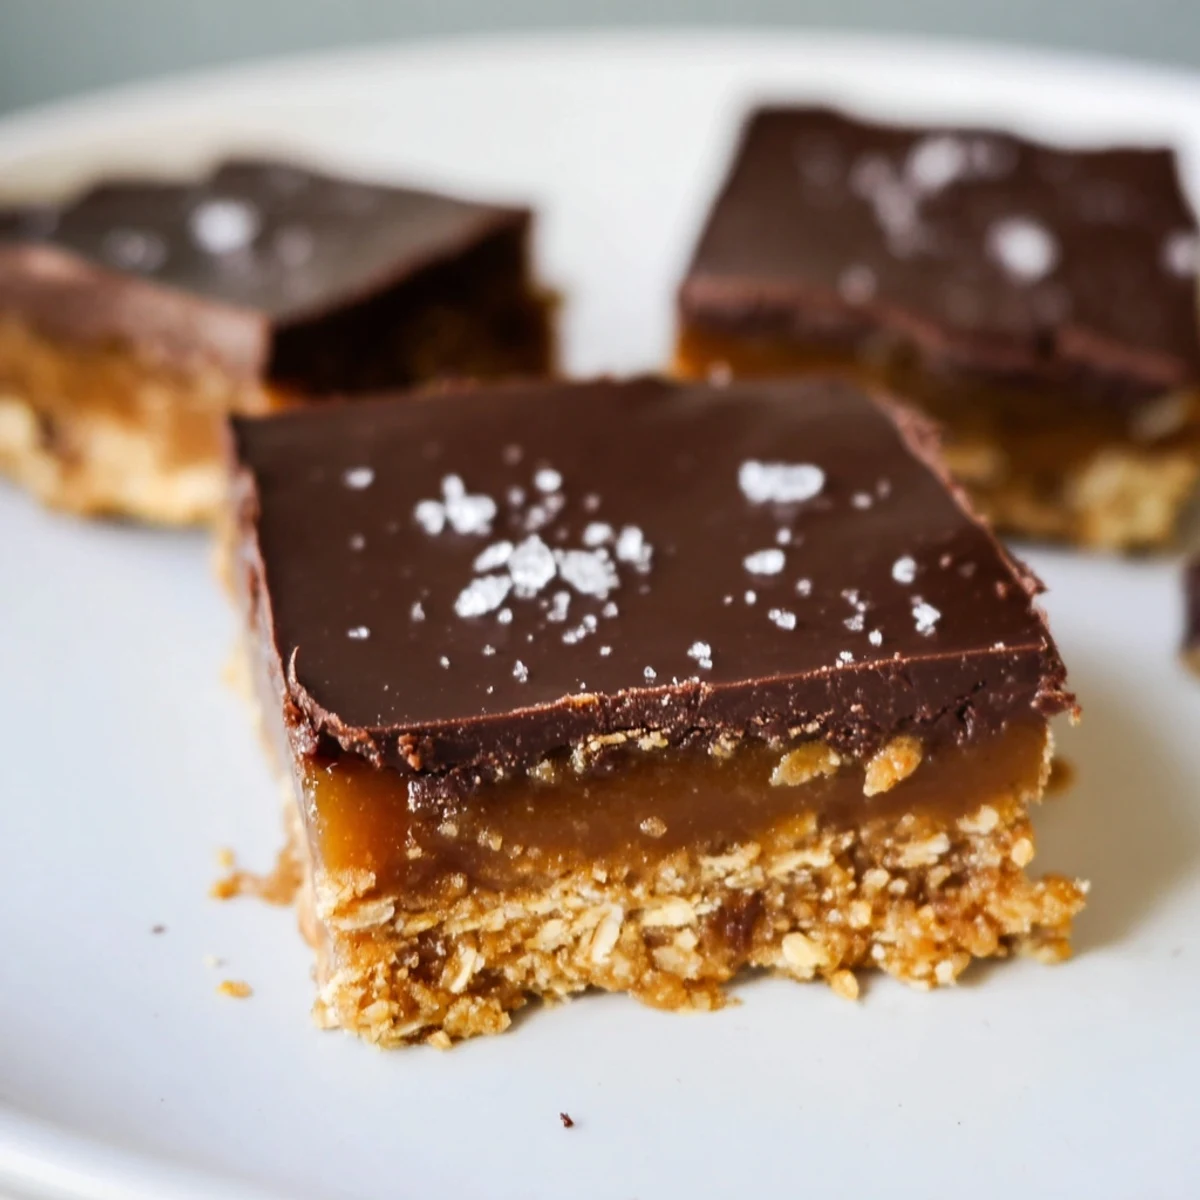
Save These naturally sweetened squares feature a luscious date caramel layer balanced with sea salt and a crisp almond-oat base. Perfect for wholesome indulgence, these treats are vegan, gluten-free, and refined sugar-free. The preparation involves creating a crumbly base, smooth date caramel, and chocolate topping that sets in the fridge for a delicious dessert experience.
The first time I made these squares, my roommate kept wandering into the kitchen asking what smelled so rich. When she saw the ingredients list, she could not believe something so decadent came from dates and oats.
I brought a batch to a dinner party where everyone was watching their sugar intake. They disappeared faster than the regular brownies, and two people actually asked for the recipe before leaving.
Ingredients
- 1 cup rolled oats: These create the foundation and give the base its satisfying chew, pulse them into coarse flour first for the best texture
- 1 cup almond flour: Adds buttery richness and helps bind the crust without any dairy
- 3 tbsp coconut oil: Melted before measuring, this solidifies when chilled to create that perfect crisp base
- 2 tbsp pure maple syrup: Just enough natural sweetness to make the crust flavorful without competing with the caramel
- 1/4 tsp fine sea salt: This small amount in the base balances all the sweetness coming in the layers above
- 1 1/2 cups pitted Medjool dates: Soft, plump dates blend into the silkiest caramel imaginable and provide all the sweetness naturally
- 1/3 cup full fat coconut milk: The fat content is essential here, making the date caramel creamy rather than sticky
- 1 tbsp almond butter: Deepens the caramel flavor and adds protein
- 1/2 tsp vanilla extract: Pure vanilla makes the date caramel taste professionally crafted
- 1/4 tsp fine sea salt: The salt in the caramel layer is what makes these squares truly addictive
- 3.5 oz dark chocolate: chopped into small pieces so it melts evenly over the caramel layer
- 1 tbsp coconut oil: Thins the chocolate just enough for easy spreading and creates a snappy finish
- Flaky sea salt: The final sprinkling on top makes these look stunning and adds bursts of salty contrast
Instructions
- Prep your pan:
- Line an 8x8-inch baking pan with parchment paper, letting the paper hang over the edges, which will help you lift the squares out later
- Make the crust:
- Pulse the oats in a food processor until they become a coarse flour, then add almond flour, melted coconut oil, maple syrup, and salt, pulsing until a crumbly dough forms that holds together when pinched
- Press and freeze:
- Press the mixture firmly and evenly into your prepared pan using the back of a spoon, then place the pan in the freezer while you work on the caramel layer
- Blend the date caramel:
- If your dates are not already soft and plump, soak them in hot water for 10 minutes and drain well, then add dates, coconut milk, almond butter, vanilla, and salt to a clean food processor and blend until completely smooth
- Layer the caramel:
- Spread the date caramel evenly over the chilled base using an offset spatula or the back of a spoon, then return the pan to the freezer for 20 minutes to set
- Melt the chocolate:
- Combine chopped dark chocolate and coconut oil in a heatproof bowl set over a saucepan of simmering water, stirring gently until smooth and glossy
- Top with chocolate:
- Pour the melted chocolate over the caramel layer and spread it evenly, then immediately sprinkle flaky sea salt over the top before the chocolate sets
- Chill completely:
- Refrigerate the pan for at least 1 hour until the chocolate is firm and you can cut clean squares
- Cut and serve:
- Use the parchment paper to lift the entire block out of the pan, then cut into 16 squares with a sharp knife, running the knife under hot water between cuts for cleaner edges
 Save
Save My sister texted me at midnight after I left some of these in her fridge, saying she meant to have just one but ate three standing up with the refrigerator door open.
Getting the Layers Right
Each layer needs to set completely before adding the next one. Rushing this step means the layers swirl together instead of staying distinct and beautiful. The freezer is your friend here, working faster than the fridge for the intermediate setting.
Making It Your Own
Swap the almond flour for oat flour if you need these to be nut-free. The crust will be slightly less rich but still holds together beautifully. Peanut butter creates a more pronounced flavor in the caramel that some people actually prefer.
Storage and Serving
These squares keep in the refrigerator for up to two weeks and in the freezer for months. Layer them between parchment paper in an airtight container to prevent sticking. Serve them slightly chilled for the best texture.
- Let the squares sit at room temperature for 5 minutes before serving for the softest caramel
- Use a hot knife and clean it between cuts for the most presentable edges
- Package individual squares in wax paper for thoughtful homemade gifts
 Save
Save These have become my go-to when I need something that feels indulgent but aligns with how I actually want to eat every day.
Recipe Questions & Answers
- → Can I make these nut-free?
-
Yes, you can substitute almond flour with oat flour and use sunflower seed butter instead of almond butter for a nut-free version. The base will be slightly less rich but still delicious.
- → How long do these need to chill?
-
The squares require at least 1 hour in the fridge to set properly. For best results, allow them to chill for 1-2 hours before cutting into portions.
- → What type of dates work best?
-
Medjool dates are ideal for this recipe as they're naturally soft and sweet, creating a smooth, creamy caramel without needing to soak them first.
- → Can I use different milk alternatives?
-
While coconut milk works well for creaminess, you can try other full-fat plant milks like cashew or oat milk. The texture might vary slightly but should still work.
- → How should I store these treats?
-
Store the squares in an airtight container in the refrigerator for up to 5 days. They can also be frozen for longer storage, just let them thaw in the fridge before serving.