
 Save
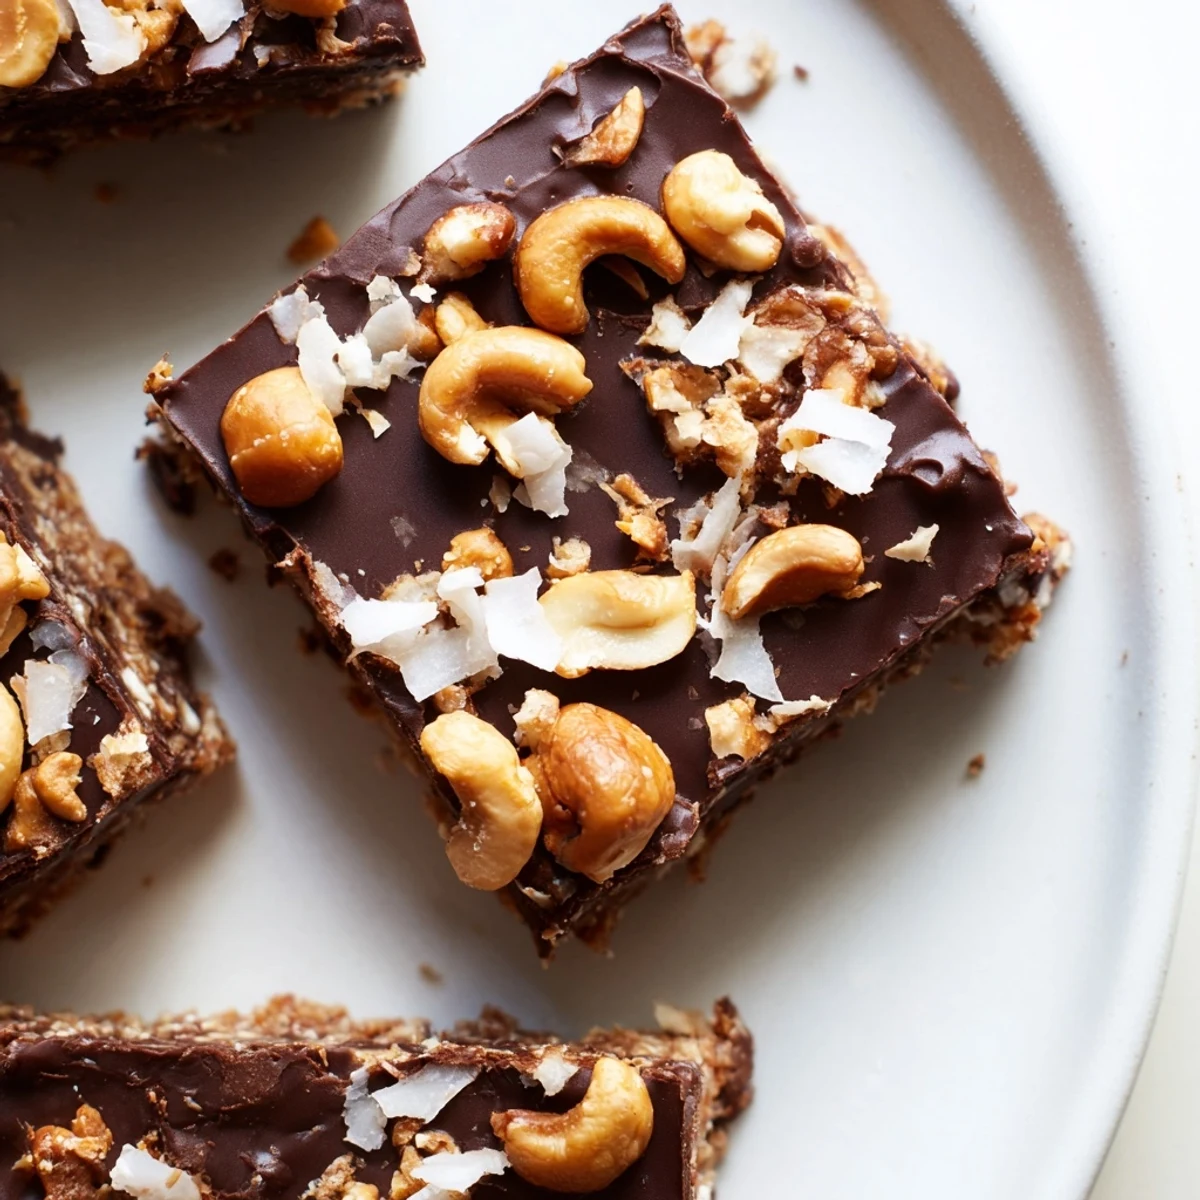
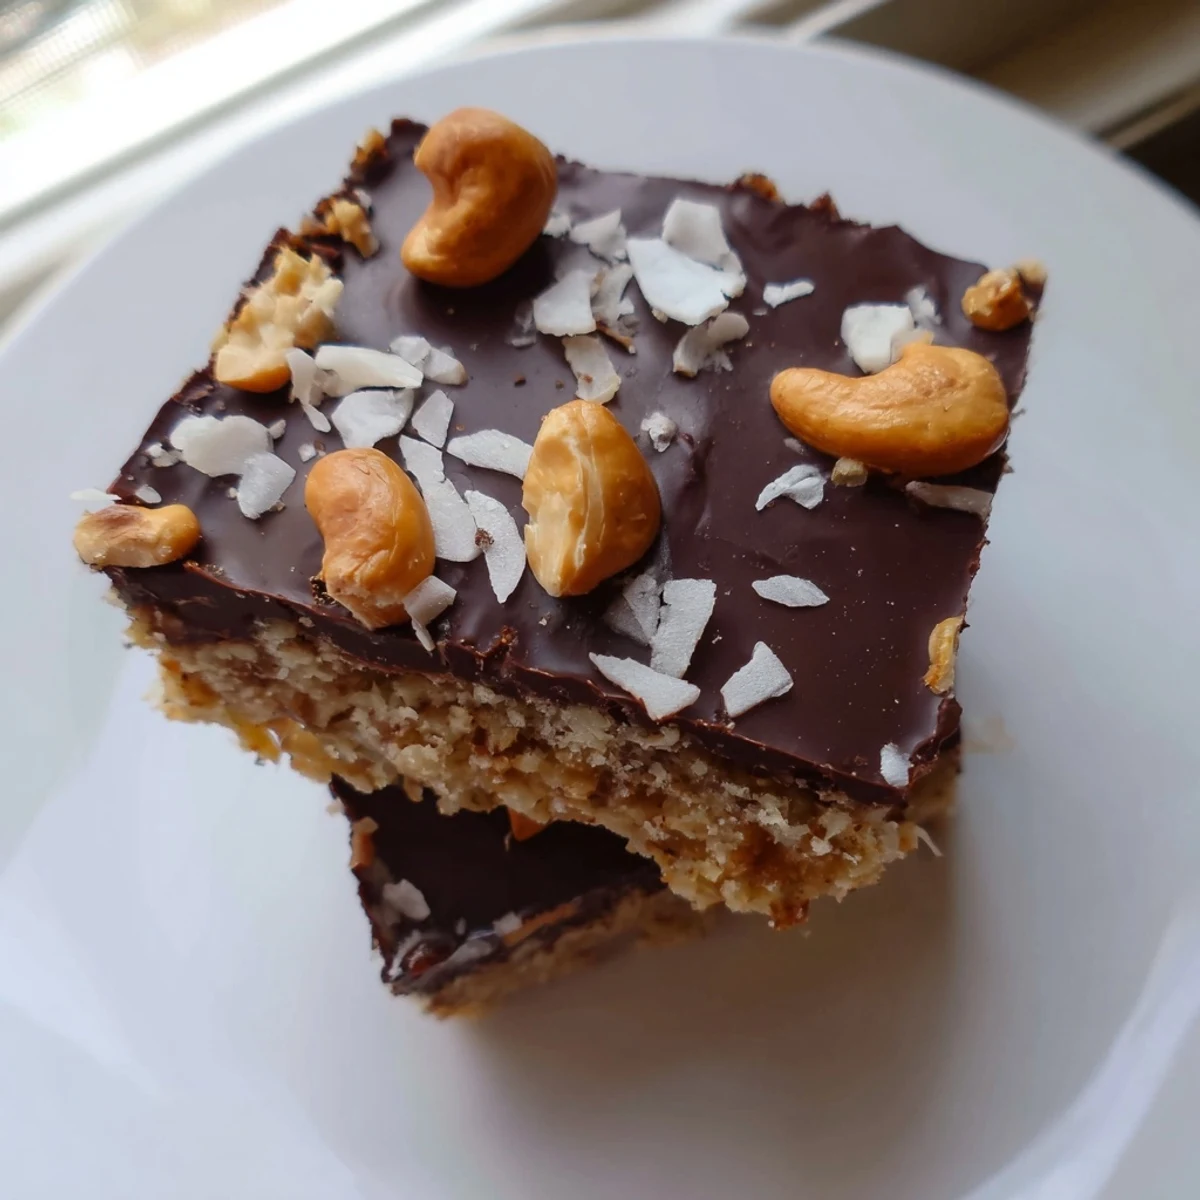
Save These no-bake bars combine a chewy coconut and cashew base with a silky dark chocolate topping. Simply press the coconut-cashew mixture into a pan, spread melted chocolate over the top, and chill until set.
With just 20 minutes of hands-on time, they're an effortless way to create something truly indulgent. The crunch of toasted cashews paired with rich 70% dark chocolate makes every bite irresistible.
They're naturally vegetarian and gluten-free, and can easily be made vegan by using maple syrup. Store them in the refrigerator for up to one week.
The rain was hammering against the kitchen window the afternoon I stumbled into these bars, half looking for a project to keep my hands busy and half desperate for something sweet without turning on the oven. I had a bag of cashews I kept snacking from mindlessly, a half used bag of shredded coconut, and a serious bar of dark chocolate I had been saving for no particular occasion. Twenty minutes later I was staring at a pan of something that looked far more intentional than it actually was. Sometimes the best things come from restless afternoons and lucky pantry combinations.
I brought a tin of these to a potluck thinking they would be a polite side contribution, and they disappeared so fast I barely got one myself. My friend Rachel cornered me by the snack table and demanded the recipe on the spot, pen in hand, clearly not taking no for an answer. That was the moment I realized this throwaway experiment had become my most requested contribution to any gathering.
Ingredients
- Unsweetened shredded coconut (1 1/2 cups, 180 g): This forms the chewy backbone of the base, so do not swap for sweetened flaked coconut or the texture and sweetness will be completely off.
- Roasted unsalted cashews (1 cup, 120 g, roughly chopped): Toasted cashews bring a buttery richness that peanuts or other nuts cannot quite replicate here.
- Coconut oil (1/2 cup, 120 ml, melted): This binds the base together and keeps it sliceable straight from the fridge.
- Pure maple syrup or honey (1/4 cup, 60 ml): Use maple syrup if you want these vegan, honey if you prefer its warmer floral notes.
- Fine sea salt (1/4 teaspoon): Just enough to make the sweetness feel balanced rather than cloying.
- High quality dark chocolate (7 oz, 200 g, 70 percent cocoa or higher): Spend a little extra here because the chocolate layer is half the experience and bargain chocolate will taste waxy.
- Coconut oil for chocolate (1 tablespoon): A small amount stirred into the melting chocolate gives it a beautiful snap once chilled.
- Garnish cashews and coconut (1/4 cup and 2 tablespoons): These add visual appeal and a welcome bit of extra crunch on top.
Instructions
- Prep the pan:
- Line an 8x8 inch baking pan with parchment paper, leaving generous overhang on two sides so you can lift the whole slab out later without wrestling it. Press the paper into the corners as neatly as you can.
- Build the base:
- In a large bowl, dump in the shredded coconut, chopped cashews, melted coconut oil, maple syrup or honey, and sea salt. Stir everything together until the coconut is evenly coated and the mixture feels like wet sand that holds together when you squeeze a handful.
- Press and freeze:
- Transfer the mixture to your lined pan and press it down firmly with a spatula or the back of a spoon, really packing it in so the bars hold their shape later. Slide it into the freezer for 15 to 20 minutes until the base feels solid to the touch.
- Melt the chocolate:
- Set a heatproof bowl over a saucepan with an inch of barely simmering water, add the chopped dark chocolate and the tablespoon of coconut oil, and stir gently until everything is glossy and smooth. Keep the heat low because scorched chocolate is a sad thing you cannot undo.
- Pour and garnish:
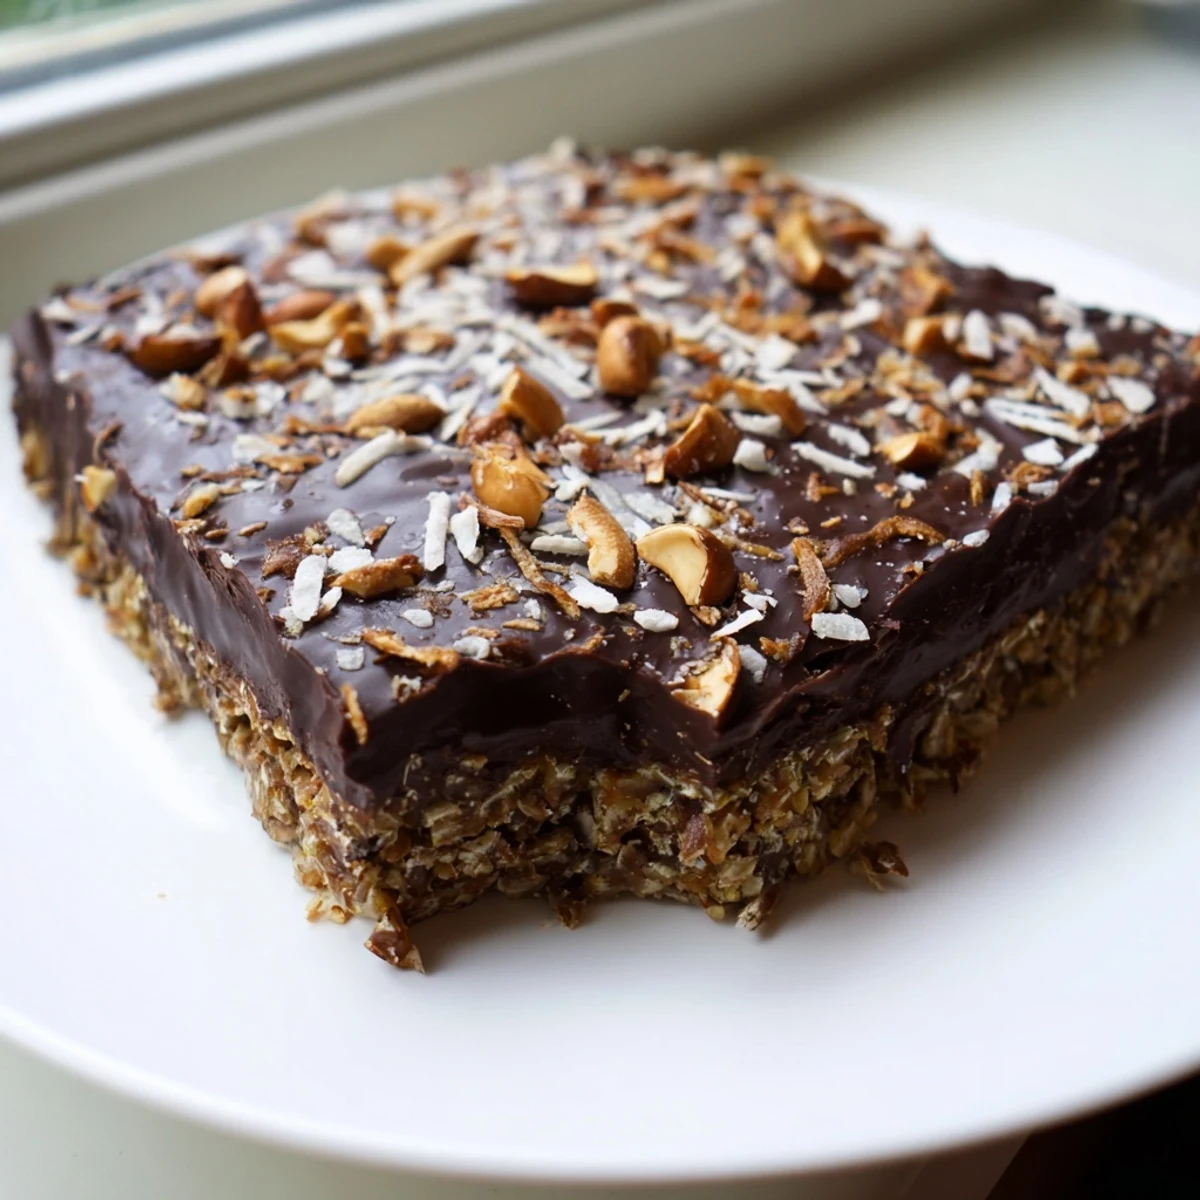
- Take the base out of the freezer and pour the melted chocolate over it in an even layer, tilting the pan gently to coax it to the edges. Immediately scatter the finely chopped cashews and shredded coconut over the surface while the chocolate is still wet and willing to hold them.
- Chill until set:
- Refrigerate the whole pan for at least one hour, or until the chocolate top is firm and snaps lightly when you press it with a fingertip. Patience here pays off because cutting before the chocolate is fully set makes a mess of your clean lines.
- Slice and store:
- Grab the parchment overhang and lift the entire slab onto a cutting board, then use a sharp knife to cut it into 16 squares or bars, wiping the blade between cuts for the neatest edges. Store them in an airtight container in the refrigerator for up to one week.
 Save
Save There is something quietly powerful about making something with your hands that looks this polished in under thirty minutes of active effort. These bars have a way of turning an ordinary Tuesday into something that feels like a small celebration.
Swaps and Variations
Almonds or pecans step in beautifully for cashews if that is what your pantry offers, each bringing its own personality to the base. A handful of dried cranberries or tart cherries folded into the coconut mixture adds a bright fruity note that cuts through the richness in the best way. I once added a pinch of flaky sea salt on top of the wet chocolate and it was so good I have never made them without it since.
Keeping Them Fresh
These bars are happiest living in the refrigerator, where the chocolate stays snappy and the base stays chewy and cohesive. They will soften at room temperature after about thirty minutes, which is fine if you prefer a softer bite but something to keep in mind for serving at parties. I have frozen them individually wrapped in parchment for up to a month and they thaw beautifully in about twenty minutes.
What You Will Need
Nothing fancy here, just a mixing bowl, a spatula, an 8x8 inch pan, parchment paper, a double boiler setup or a heatproof bowl and saucepan, and a sharp knife for clean slicing. The whole process is forgiving enough that exact measurements matter more than technique.
- Press the parchment into the corners of the pan before adding the base for the neatest edges.
- Wipe your knife with a warm damp cloth between each cut for perfectly clean bars.
- Taste your chocolate before melting it because if you do not enjoy eating it plain, you will not enjoy it here.
 Save
Save Keep a stash of these tucked in your fridge and you will never be caught without something wonderful to offer unexpected guests or to reward yourself on a long afternoon. They are proof that simple ingredients treated with a little care become something far greater than the sum of their parts.
Recipe Questions & Answers
- → Can I use milk chocolate instead of dark chocolate?
-
Yes, milk chocolate works fine but will make the bars sweeter and less intense. Dark chocolate at 70% cocoa or higher provides the best contrast against the sweet coconut base and balances the overall flavor beautifully.
- → Do I need to toast the cashews beforehand?
-
The recipe calls for roasted cashews, which bring deeper flavor and better crunch. If you only have raw cashews, toast them in a dry skillet over medium heat for 5–7 minutes, stirring frequently, until golden and fragrant.
- → How should I cut the bars without cracking the chocolate?
-
Let the bars sit at room temperature for about 5 minutes before cutting. Use a sharp knife and press down firmly in one clean motion rather than sawing back and forth. Warming the blade under hot water and drying it between cuts also helps.
- → Can I make these bars ahead of time?
-
Absolutely. These bars store well in an airtight container in the refrigerator for up to one week. You can also freeze them for up to three months. Separate layers with parchment paper to prevent sticking.
- → What can I substitute for coconut oil?
-
Butter or a neutral oil like refined sunflower oil can replace coconut oil in the base. For the chocolate topping, coconut oil helps achieve a smooth snap when set, but a small amount of butter works as an alternative.
- → Why did my chocolate topping separate or become streaky?
-
This usually happens if moisture gets into the chocolate while melting. Make sure your bowl and utensils are completely dry. Also, avoid overheating — use gentle heat and stir frequently until just smooth.