 Save
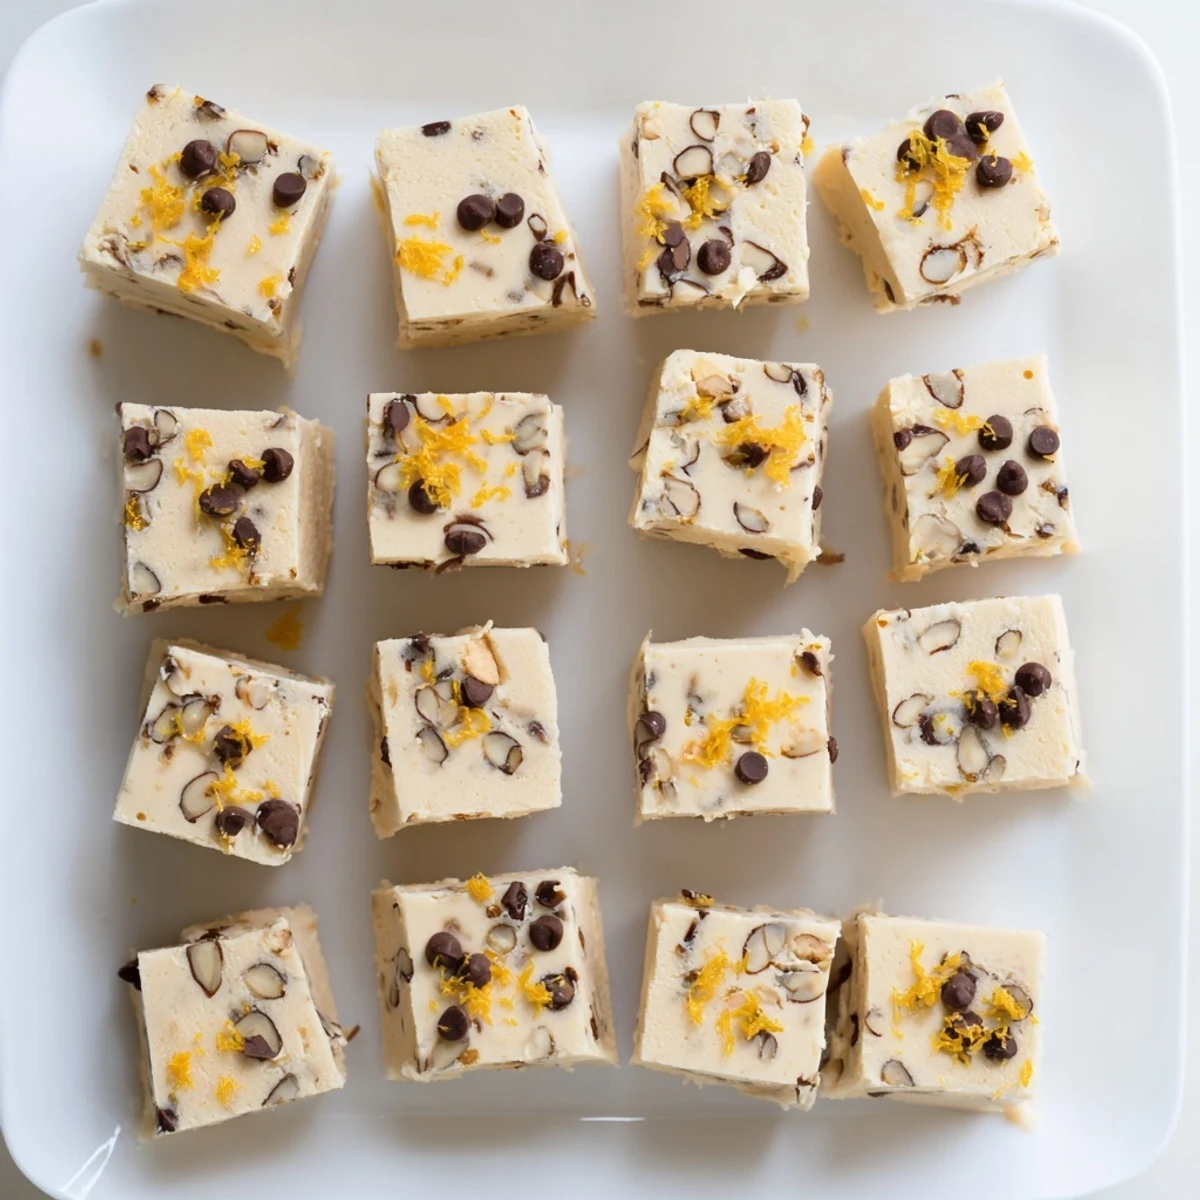
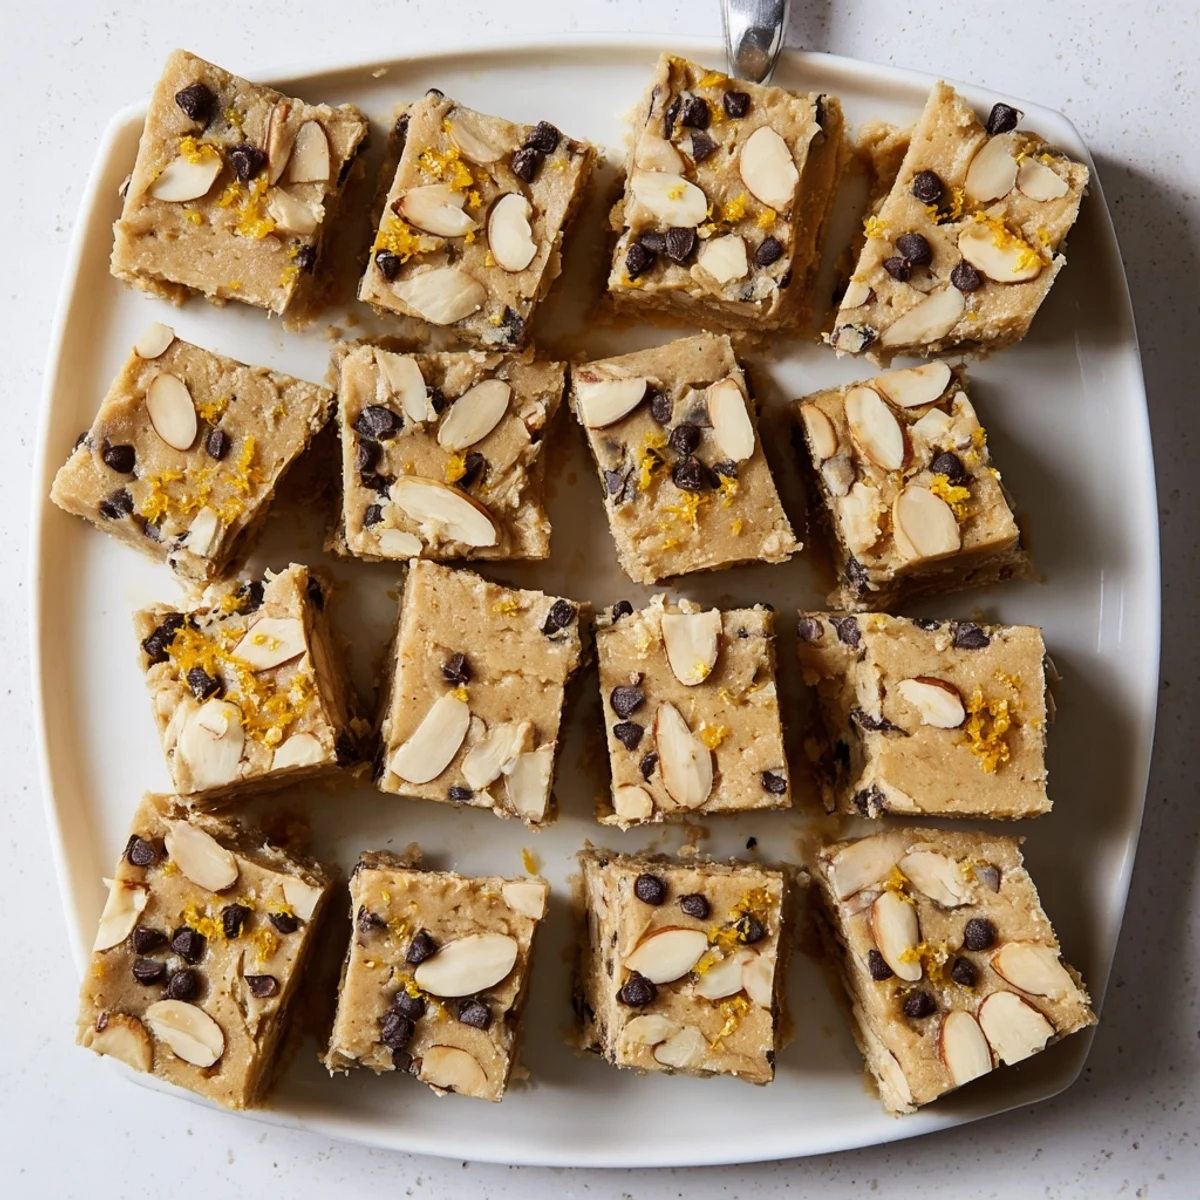
Save These luscious squares combine silky almond butter with coconut oil and pure maple syrup, creating a rich fudge base that's naturally sweetened and dairy-free. Fresh orange zest and juice add bright citrus notes that cut through the richness, while toasted almonds provide satisfying crunch in every bite.
The beauty of this confection lies in its simplicity—just whisk the ingredients together, fold in your mix-ins, freeze until firm, and slice into perfect portions. The freezer creates that signature fudge texture that's firm enough to hold its shape but melts beautifully on your tongue.
Customize easily by swapping nut butters, adding more chocolate, or adjusting sweetness to your taste. Store these squares in the freezer for up to three months, making them ideal for meal prep or unexpected guests.
The first time I made freezer fudge, I was honestly skeptical that something so simple could taste this good. I had friends coming over in an hour and zero energy for actual baking, so I threw these ingredients together in a panic. When I pulled that chilled tray from the freezer hours later and took my first bite, the creamy almond-orange combination made me an instant convert. Now I keep a batch stashed away at all times for those moments when something sweet is non-negotiable.
Last summer, my neighbor Sarah stopped by while I was stirring together the almond butter and melted coconut oil. She looked at me like I had three heads when I told her we were making fudge without any cream or sugar, but then she tasted the mixture straight from the bowl and her eyes went wide. Now she texts me every few weeks asking if I have any of those orange squares left, and I usually have to admit I ate them all myself.
Ingredients
- 1 cup almond butter (unsweetened, smooth): I learned the hard way that chunky almond butter creates weird texture pockets, so smooth is absolutely non-negotiable here for that silky finish
- 1/4 cup coconut oil (melted): This solidifies in the cold to create that perfect fudge structure, but make sure it's completely melted or you'll get white streaks in your finished squares
- 1/4 cup pure maple syrup: Adds just enough sweetness without overpowering the subtle almond flavor, and you can always add another tablespoon if you have a serious sweet tooth
- 1/2 teaspoon vanilla extract: Don't skip this even though it seems like a small amount because it rounds out all the flavors beautifully
- Zest of 1 orange: This is where all that bright citrus magic comes from, so really get into those nooks and crannies of the orange peel with your microplane
- 1 tablespoon fresh orange juice: Use actual fresh juice instead of bottled stuff because the concentrated flavor makes a huge difference here
- 1/4 teaspoon sea salt: The salt is crucial because it makes all the other flavors pop and keeps the fudge from tasting flat
- 1/4 cup chopped toasted almonds: Toasting them first adds this incredible nutty depth that takes the whole recipe to the next level
- 2 tablespoons mini dark chocolate chips (optional): I say optional but honestly these little pockets of chocolate throughout the fudge are pretty magical
- 1 tablespoon grated orange zest (for garnish): That extra orange on top makes these look so pretty and gives you a burst of citrus aroma right when you bite in
Instructions
- Prep your pan like you mean it:
- Line your 8x8-inch baking pan with parchment paper and leave those edges hanging over the sides because you will absolutely need those handles to lift the fudge out later
- Whisk everything until silky smooth:
- Grab your medium mixing bowl and whisk together the almond butter, melted coconut oil, maple syrup, vanilla extract, orange zest, orange juice, and sea salt until the mixture is completely uniform and glossy
- Add the crunch:
- Gently fold in those toasted chopped almonds and chocolate chips if you're using them, being careful not to overmix since you want those little pockets of texture throughout
- Spread it all out:
- Pour the mixture into your prepared pan and use your spatula to spread it into an even layer, pressing down slightly to eliminate any air pockets
- Finish with extra orange:
- Sprinkle that remaining tablespoon of grated orange zest evenly across the top so every square gets a little citrus confetti on top
- The waiting game:
- Freeze for at least 2 hours until the fudge is completely firm to the touch, though I often leave mine overnight because I have zero self-control when I know fudge is in there
- Cutting time:
- Use those parchment paper handles to lift the whole block out of the pan, then grab a sharp knife and cut into 16 perfect little squares
- Store them away:
- Keep your fudge squares in an airtight container in the freezer and serve them straight from frozen for that ideal melt-in-your-mouth texture
 Save
Save My mom called me last month asking for the recipe after I sent her a care package with a container of these squares. She said my dad ate three in one sitting and then hid the rest in the back of the freezer so nobody else would find them. There's something about that combination of creamy, crunchy, and citrusy that just hits differently than regular chocolate desserts.
Making It Your Own
The beauty of this recipe is how easily it adapts to whatever you're craving or have in your pantry. I've swapped the almond butter for cashew butter when I was feeling fancy, and the result was incredibly smooth and almost buttery. Sunflower seed butter works beautifully for a nut-free version that still delivers that same creamy satisfaction, though you might want to add a tiny pinch more salt since sunflower seeds are naturally sweeter than almonds.
Texture Secrets
Getting that perfect fudge consistency comes down to temperature and mixing technique. Make sure your coconut oil is completely melted but not hot when you combine everything, and whisk with some determination until the mixture looks glossy and uniform. I've found that pressing the mixture firmly into the pan with the back of a spoon helps eliminate air bubbles that can make the final texture feel crumbly instead of smooth and dense.
Serving Ideas
These squares are fantastic on their own, but they become something special with the right accompaniment. I love serving them with a shot of espresso after dinner because the bitterness cuts right through the richness. For dessert wine, a chilled Moscato creates this incredible orange-cream flavor combination that tastes even more sophisticated than it has any right to.
- Try crumbling a square over vanilla coconut milk ice cream for an instant fudge sundae situation
- Serve with fresh berries if you want something lighter but still indulgent
- These make excellent gifts layered in mason jars with parchment paper between each layer
 Save
Save There's something deeply satisfying about having such a treat-worthy dessert sitting in your freezer, ready at a moment's notice. Every time I grab a square from that container, I'm reminded that the simplest recipes are often the ones that bring the most joy.
Recipe Questions & Answers
- → How long do these fudge squares need to freeze?
-
Freeze for at least 2 hours until completely firm. For the best texture and easiest cutting, overnight freezing works perfectly. The squares can be stored in the freezer for up to 3 months in an airtight container.
- → Can I use a different nut butter?
-
Absolutely. Cashew butter creates an even creamier texture, while peanut butter adds a classic nutty flavor. For nut-free options, sunflower seed butter works beautifully, though you'll want to omit the chopped almonds topping.
- → Do I need to thaw before serving?
-
No thawing required. These squares are meant to be enjoyed straight from the freezer. The texture is perfectly firm yet creamy when frozen. Letting them sit at room temperature for more than 5 minutes may cause them to soften too much.
- → Is maple syrup necessary, or can I use another sweetener?
-
Pure maple syrup provides the best consistency and flavor balance. Honey works as a 1:1 substitute but will add a distinct floral note. For a sugar-free version, liquid monk fruit sweetener or agave nectar can replace the maple syrup.
- → Why does my mixture look separated or oily?
-
This usually happens if the coconut oil was too hot or cold when mixing. Ensure your coconut oil is melted but not scorching hot, and all other ingredients are at room temperature. Whisk vigorously until completely smooth and emulsified before pouring into the pan.
- → Can I make these without chocolate chips?
-
Certainly. The chocolate chips are completely optional. For a pure orange-almond experience, simply omit them. You could also replace them with dried cranberries, shredded coconut, or white chocolate chips for different flavor variations.