 Save
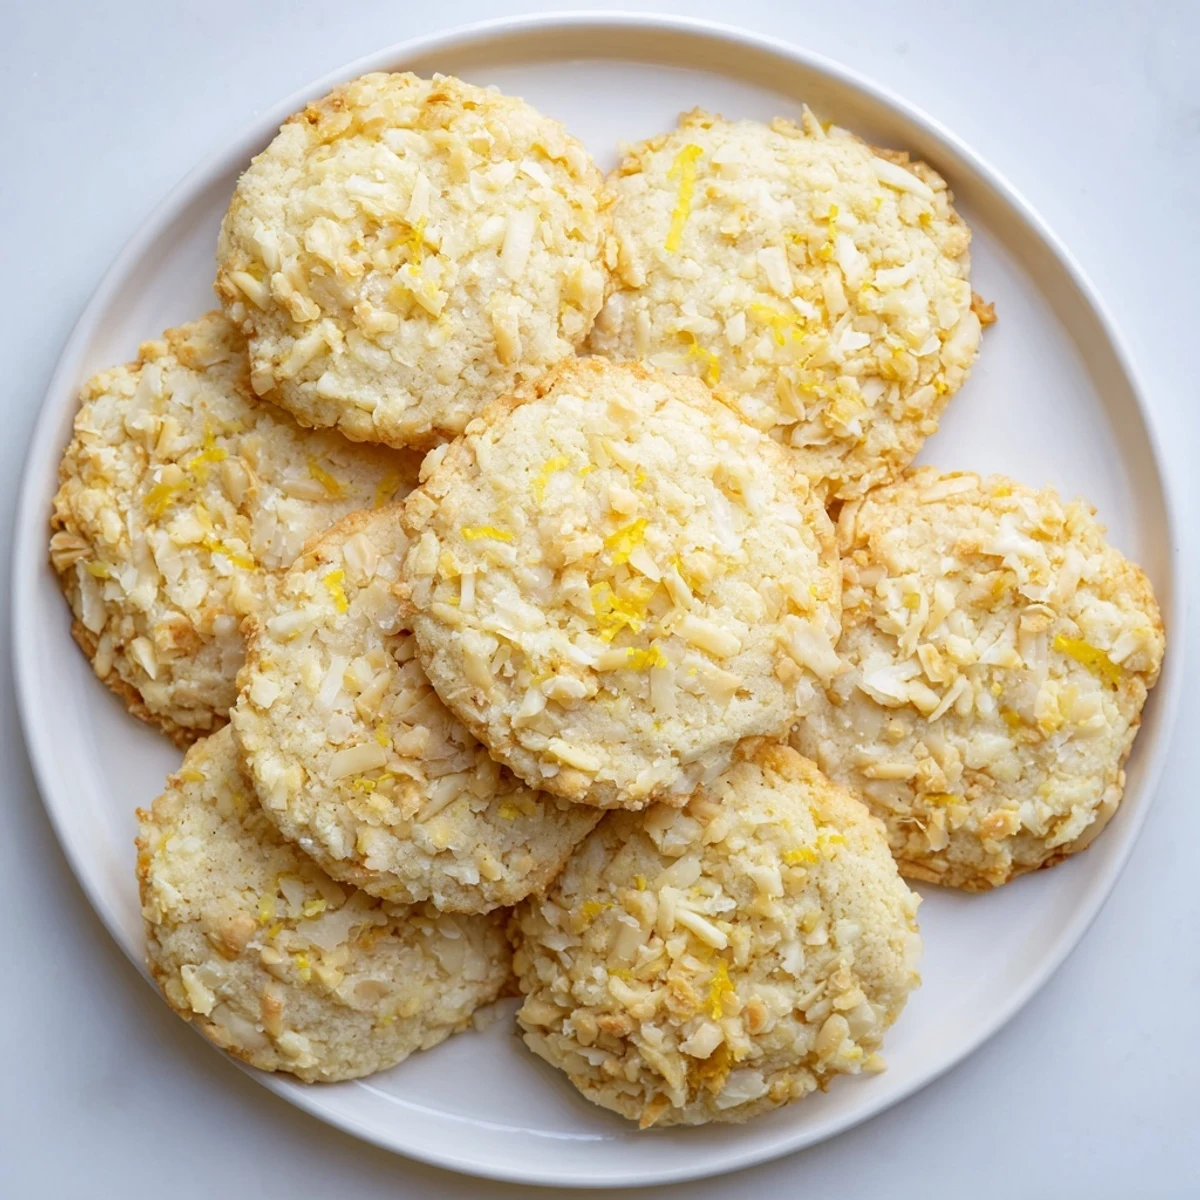
Save These bright, zesty lemon coconut cookies combine a tender, chewy center with a delightful crispy crunch from shredded coconut and gluten-free crispy rice cereal. The fresh lemon zest and juice create a refreshing citrus flavor that shines through the buttery, sweet dough.
Mixing these treats takes just 15 minutes of prep time, and they bake in under 12 minutes for a quick homemade dessert. The dough comes together easily—cream butter with sugar and lemon zest, add eggs and vanilla, then fold in the coconut and crispy cereal for that signature crunch.
Perfect for gluten-free households, these cookies also work with dairy-free butter for a vegan version using flax eggs. The yield of 24 cookies makes them ideal for sharing, school events, or stocking your freezer.
My kitchen smelled like a lemon grove after a summer rain the afternoon I stumbled into this recipe, entirely by accident while trying to use up a bag of shredded coconut that had been staring at me from the pantry for weeks. I zested two lemons without measuring, tossed in some crispy rice cereal for texture, and hoped for the best. What came out of the oven was something I honestly did not expect: golden, chewy cookies with a crackly coconut edge and a brightness that made everyone in the house appear in the kitchen within minutes.
I packed a tin of these for a road trip with my sister last spring and she ate half of them before we even left the driveway, declaring them better than any bakery cookie she had ever had. That endorsement from someone who is famously picky about textures sealed the deal for me.
Ingredients
- Gluten free all-purpose flour blend (1 1/2 cups): Use a blend that already contains xanthan gum if possible, because it saves you an extra ingredient and gives the cookies that classic chew you want.
- Baking powder (1 tsp) and baking soda (1/2 tsp): Together they give the cookies a gentle lift without spreading too thin, which matters more in gluten free baking than you might think.
- Fine sea salt (1/4 tsp): Just enough to make the lemon pop and keep the sweetness honest.
- Unsalted butter, softened (1/2 cup or 1 stick): Let it sit out until it yields to a gentle press of your finger but is not melting or greasy.
- Granulated sugar (3/4 cup): This amount keeps them sweet without tipping into dessert territory, making them perfect for afternoon tea.
- Zest of 2 lemons: Rub the zest into the sugar with your fingers before creaming, it releases the oils and makes the flavor exponentially brighter.
- Large egg (1): Room temperature works best here so it incorporates smoothly into the butter mixture.
- Fresh lemon juice (2 tbsp): Bottled juice will work in a pinch but fresh juice has a vibrancy you can actually taste in the finished cookie.
- Pure vanilla extract (1 tsp): It rounds out the sharpness of the lemon without stealing attention.
- Unsweetened shredded coconut (1 cup): Unsweetened is key because sweetened coconut will make the cookies cloying and throw off the balance.
- Gluten free crispy rice cereal (1/2 cup): This is the secret weapon that creates the irresistible crunch on the edges.
Instructions
- Preheat and prepare:
- Set your oven to 350 degrees F and line two baking sheets with parchment paper so the cookies lift off effortlessly after baking.
- Whisk the dry ingredients:
- In a medium bowl, whisk together the flour, baking powder, baking soda, and salt until evenly distributed and there are no clumps hiding in the corners.
- Cream butter, sugar, and zest:
- In a large bowl, beat the softened butter, sugar, and lemon zest together until the mixture looks pale and cloudlike, about two to three minutes with a hand mixer.
- Add the wet ingredients:
- Beat in the egg, lemon juice, and vanilla extract until everything is smooth and smells like a lemon meringue dream in progress.
- Bring it all together:
- Gradually add the dry ingredients to the wet mixture, mixing on low speed until just combined and you no longer see streaks of flour.
- Fold in the crunch:
- Use a spatula to gently fold in the shredded coconut and crispy rice cereal, being careful not to crush the cereal pieces.
- Scoop and space:
- Scoop tablespoon sized mounds of dough onto the prepared sheets, leaving about two inches between each one so they have room to spread without merging.
- Bake until golden:
- Bake for 10 to 12 minutes, watching for edges that turn a warm golden brown while the centers still look slightly soft and underdone.
- Cool properly:
- Let the cookies rest on the baking sheet for five minutes before transferring them to a wire rack, because they will continue to set as they sit and you want that chewy center intact.
 Save
Save I realized these cookies had become a real staple in my life when a neighbor knocked on my door and asked not how I was doing, but whether I had any of those lemon coconut cookies handy. Food becomes something more than sustenance when it starts conversations like that.
What to Watch For When Baking Gluten Free
Gluten free flour blends behave differently depending on the brand, and I learned the hard way that some absorb more moisture than others. If your dough feels dry and crumbly after mixing, add a teaspoon of milk at a time until it holds together when squeezed. The dough should feel soft and slightly sticky but not wet, and it will not look exactly like traditional cookie dough.
Making Them Your Own
A simple lemon glaze drizzled over the cooled cookies takes them from teatime snack to dinner party dessert with almost no extra effort. You can also swap the coconut for finely chopped macadamia nuts if you want a richer, more buttery crunch. For a vegan version, replace the butter with a good quality dairy free alternative and use a flax egg instead of a regular one.
Storing and Sharing
These cookies keep beautifully in an airtight container at room temperature for up to five days, though in my experience they rarely last that long. The crispy edges soften slightly by day two, which some people actually prefer because the chewiness becomes more pronounced.
- Freeze baked cookies in a single layer on a sheet pan before transferring to a freezer bag for up to three months.
- The cookie dough also freezes well if you want to scoop portions and bake just a few at a time.
- Always double check that every single ingredient you use is certified gluten free, especially the cereal and the flour blend.
 Save
Save There is something deeply satisfying about pulling a tray of golden, fragrant cookies from the oven and knowing they will make someone smile. Keep this recipe close because it will earn a permanent spot in your rotation.
Recipe Questions & Answers
- → Can I make these lemon coconut cookies dairy-free?
-
Yes, simply replace the unsalted butter with your favorite dairy-free butter alternative. For a fully vegan version, substitute the large egg with a flax egg (1 tablespoon ground flaxseed mixed with 3 tablespoons water, let sit for 5 minutes).
- → What gives these cookies their crunchy texture?
-
The combination of unsweetened shredded coconut and gluten-free crispy rice cereal creates the delightful crunch. Both ingredients are folded into the dough before baking, adding texture to every bite.
- → How should I store these cookies?
-
Store cooled cookies in an airtight container at room temperature for up to 5 days. For longer storage, freeze baked cookies in freezer bags for up to 3 months. The dough can also be frozen raw—scoop onto a baking sheet, freeze until firm, then transfer to a bag.
- → Is the crispy rice cereal definitely gluten-free?
-
Not all crispy rice cereals are gluten-free, so check labels carefully. Look for brands specifically labeled gluten-free or certified gluten-free. Some mainstream varieties contain malt flavoring derived from barley, which contains gluten.
- → Can I add a glaze to these cookies?
-
Absolutely! A simple lemon glaze enhances the citrus flavor. Mix 1 cup powdered sugar with 2-3 tablespoons fresh lemon juice until smooth, then drizzle over cooled cookies. Let the glaze set for 15 minutes before serving.
- → Why did my cookies spread too much?
-
Excessive spreading usually happens if the butter was too soft or the dough warmed up before baking. Chill the dough for 30 minutes if your kitchen is warm. Also ensure you're measuring flour correctly—spoon it into the measuring cup and level off rather than scooping directly.