 Save
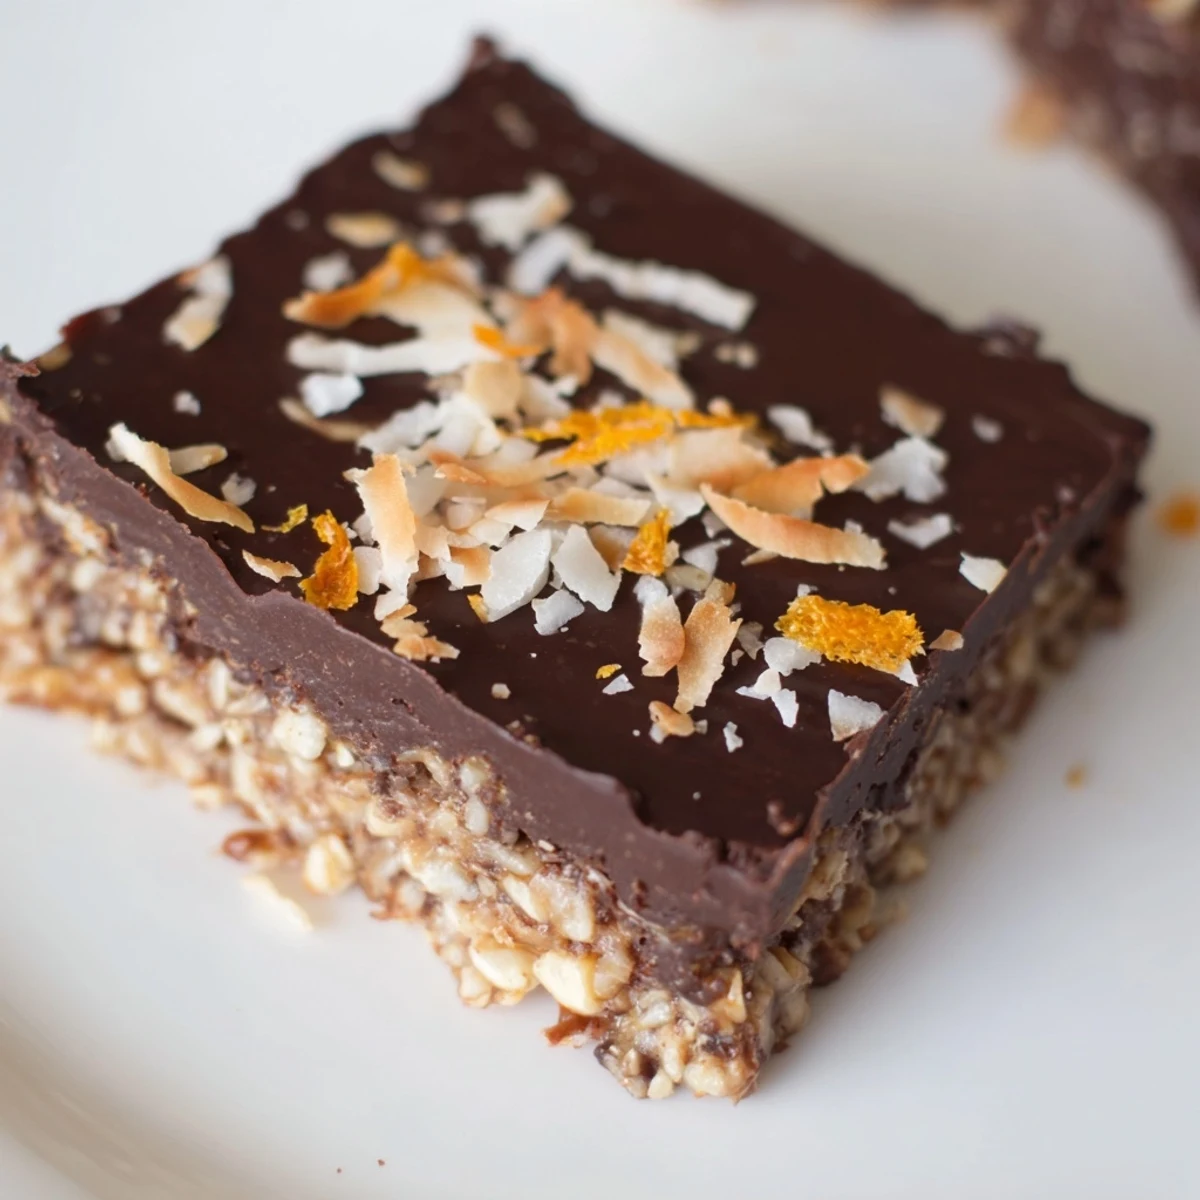
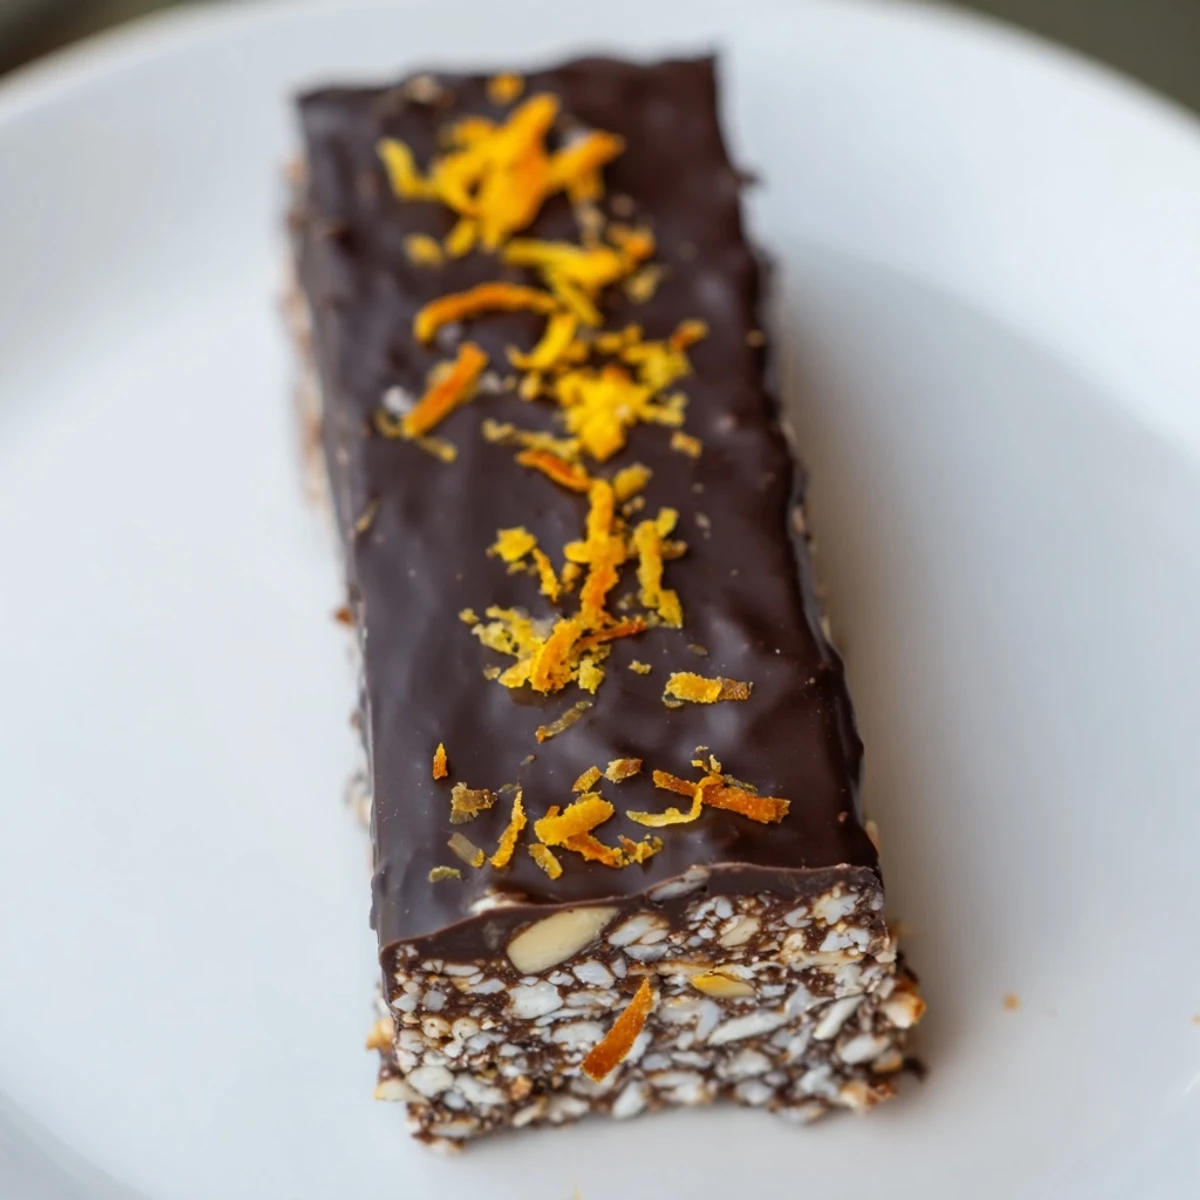
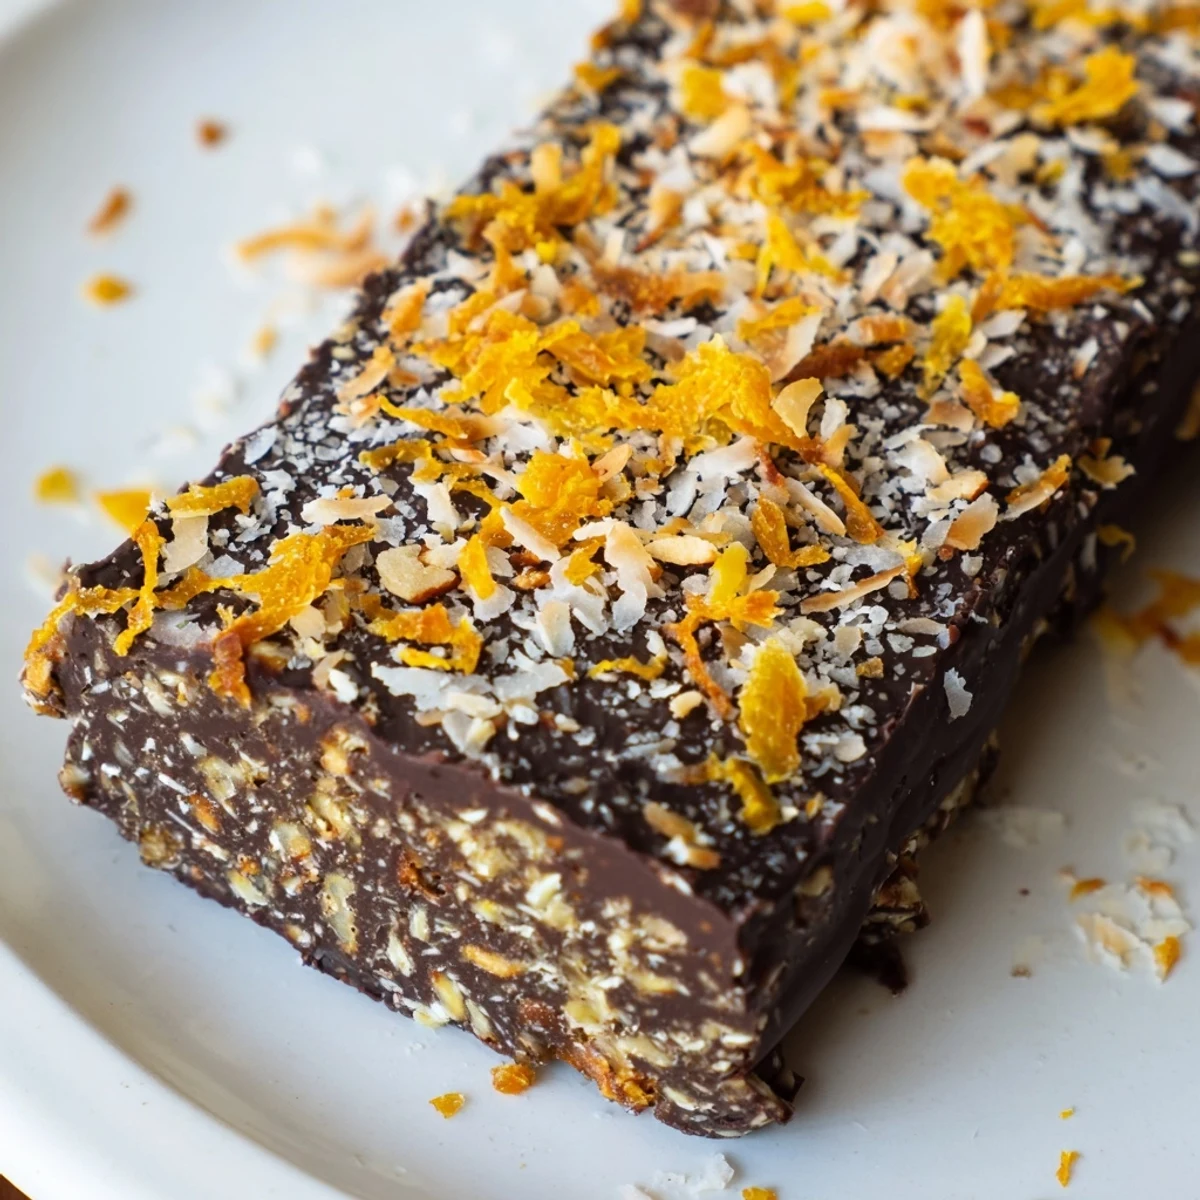
Save These indulgent bars combine three complementary flavors—rich dark chocolate, bright orange zest, and naturally sweet coconut—into a simple no-bake dessert. The base features shredded coconut and almond flour bound with maple syrup and coconut oil, while the topping is a silky ganache made with melted dark chocolate.
Total prep takes just 20 minutes, then the freezer and refrigerator do the rest of the work. Each bar delivers a satisfying texture contrast: the chewy, nutty base gives way to smooth, snappy chocolate. They keep beautifully in the refrigerator for up to a week, making them excellent for meal prep or entertaining.
The recipe is naturally gluten-free and vegetarian, easily adapted to be vegan and nut-free. A sprinkle of toasted coconut and extra orange zest on top adds visual appeal and an aromatic finish that hints at the vibrant flavors within.
My kitchen counter became an accidental chemistry lab the day I discovered chocolate and orange were meant to be together. I'd been experimenting with no-bake treats for weeks, tired of turning on my oven during an unusually warm September. Something about the way bright orange zest cuts through rich dark chocolate felt like discovering a secret language between ingredients.
I first brought these to a book club meeting, secretly nervous they'd seem too simple. Three people asked for the recipe before we'd even finished discussing the first chapter. Now they're my go-to when I want to impress without spending hours in the kitchen.
Ingredients
- Unsweetened shredded coconut: The foundation that gives these bars their signature chew and natural sweetness, plus it holds everything together beautifully
- Almond flour: Creates a tender crumb and nutty undertone that bridges the gap between coconut and chocolate layers
- Pure maple syrup: Adds a deep caramel note while keeping the bars refined sugar free and helping the base bind together
- Coconut oil: The magic ingredient that firms up when chilled, creating that perfect snap when you bite through the chocolate layer
- Orange zest: The bright, aromatic soul of this recipe that cuts through richness and makes every bite feel fresh and surprising
- Pure vanilla extract: Rounds out all the flavors with warmth, like a cozy blanket for your taste buds
- Dark chocolate: Choose minimum 60% cocoa for that sophisticated edge and proper chocolate that will set firm and glossy
- Toasted coconut flakes: The finishing touch that adds irresistible crunch and makes these bars look absolutely gorgeous
Instructions
- Prep your canvas:
- Line an 8-inch square baking pan with parchment paper, letting the edges hang over like a little sling that will help you lift the bars out later
- Build the base:
- Combine shredded coconut, almond flour, maple syrup, melted coconut oil, orange zest, vanilla, and salt in a mixing bowl, mixing until everything sticks together when you pinch it
- Press it down:
- Firmly press the mixture into your prepared pan, using the back of a spoon or your fingers to create an even, compact layer that won't crumble when you slice it
- Let it chill:
- Freeze the base for 20 minutes while you prepare the chocolate layer, giving it time to firm up enough to support the chocolate without mixing together
- Melt the magic:
- Set a heatproof bowl over a saucepan of simmering water, then melt dark chocolate with coconut oil, stirring until silky smooth and glossy
- Add brightness:
- Stir that teaspoon of orange zest into the melted chocolate, watching the aroma bloom up and fill your kitchen with citrus warmth
- Layer it on:
- Pour the chocolate over your chilled coconut base, spreading it gently with a spatula until you have an even, beautiful top layer
- Finish with flair:
- Sprinkle toasted coconut flakes over the chocolate while it's still soft, adding extra orange zest if you want that extra pop of color and flavor
- Patience pays off:
- Refrigerate for at least 2 hours until everything is completely set and the chocolate has that satisfying snap when you touch it
- Make it official:
- Use the parchment overhang to lift the whole slab out of the pan, then slice with a sharp knife into 16 perfect squares, wiping the knife between cuts for clean edges
 Save
Save My neighbor's six-year-old asked if I could make these for his birthday party instead of cake. That's when I knew these bars had something truly special going on.
Making Them Your Own
Sometimes I swap in sunflower seed flour for a nut-free version that tastes just as delicious. The texture changes slightly but that chocolate orange combination remains absolutely stunning regardless of the base flour you choose.
The Art of Zesting
I've learned to zest oranges before I even think about juicing them, using a microplane to capture only the bright orange part and avoiding the bitter white pith underneath. The aromatic oils in zest carry way more flavor impact than juice ever could.
Storage Secrets
These bars actually improve after a day in the fridge, as the flavors meld together and the texture becomes even more cohesive. Layer them between sheets of parchment paper in an airtight container and they'll stay perfect for a whole week.
- Let the bars sit at room temperature for 5 minutes before serving if you prefer softer chocolate
- Freeze individual portions wrapped in plastic for emergency dessert cravings
- Package these in pretty boxes with parchment for impressive homemade gifts
 Save
Save Every time I make these, I'm reminded that the simplest combinations often create the most lasting memories in the kitchen.
Recipe Questions & Answers
- → Do these need to be refrigerated?
-
Yes, these bars must be stored in the refrigerator due to the coconut oil and chocolate content. They will become soft at room temperature. Keep them chilled for the best texture and to maintain their shape when slicing.
- → Can I make these vegan?
-
Absolutely. Use pure maple syrup (already included) and ensure your dark chocolate is dairy-free. The coconut oil and shredded coconut are naturally plant-based, making these bars easily adaptable to a vegan diet.
- → How long do these bars stay fresh?
-
Stored in an airtight container in the refrigerator, these bars will keep for up to 1 week. The flavors actually develop and meld beautifully after a day or two. For longer storage, wrap individual bars and freeze for up to 3 months.
- → Can I use milk or white chocolate instead?
-
You can substitute milk chocolate for a sweeter, creamier result, though the bars will be less intensely chocolatey. White chocolate also works but will create a much sweeter profile. Both options will slightly reduce the antioxidant benefits of dark chocolate.
- → What can I use instead of almond flour?
-
Sunflower seed flour makes an excellent nut-free alternative with a similar texture. For a sweeter option, try finely ground graham cracker crumbs. Oat flour (certified gluten-free) works too, though the base may be slightly softer.
- → Why freeze the base before adding chocolate?
-
Freezing the coconut base for 20 minutes firms it up, creating a solid foundation. This prevents the warm chocolate mixture from sinking into the base and ensures clean, distinct layers when sliced.