
 Save
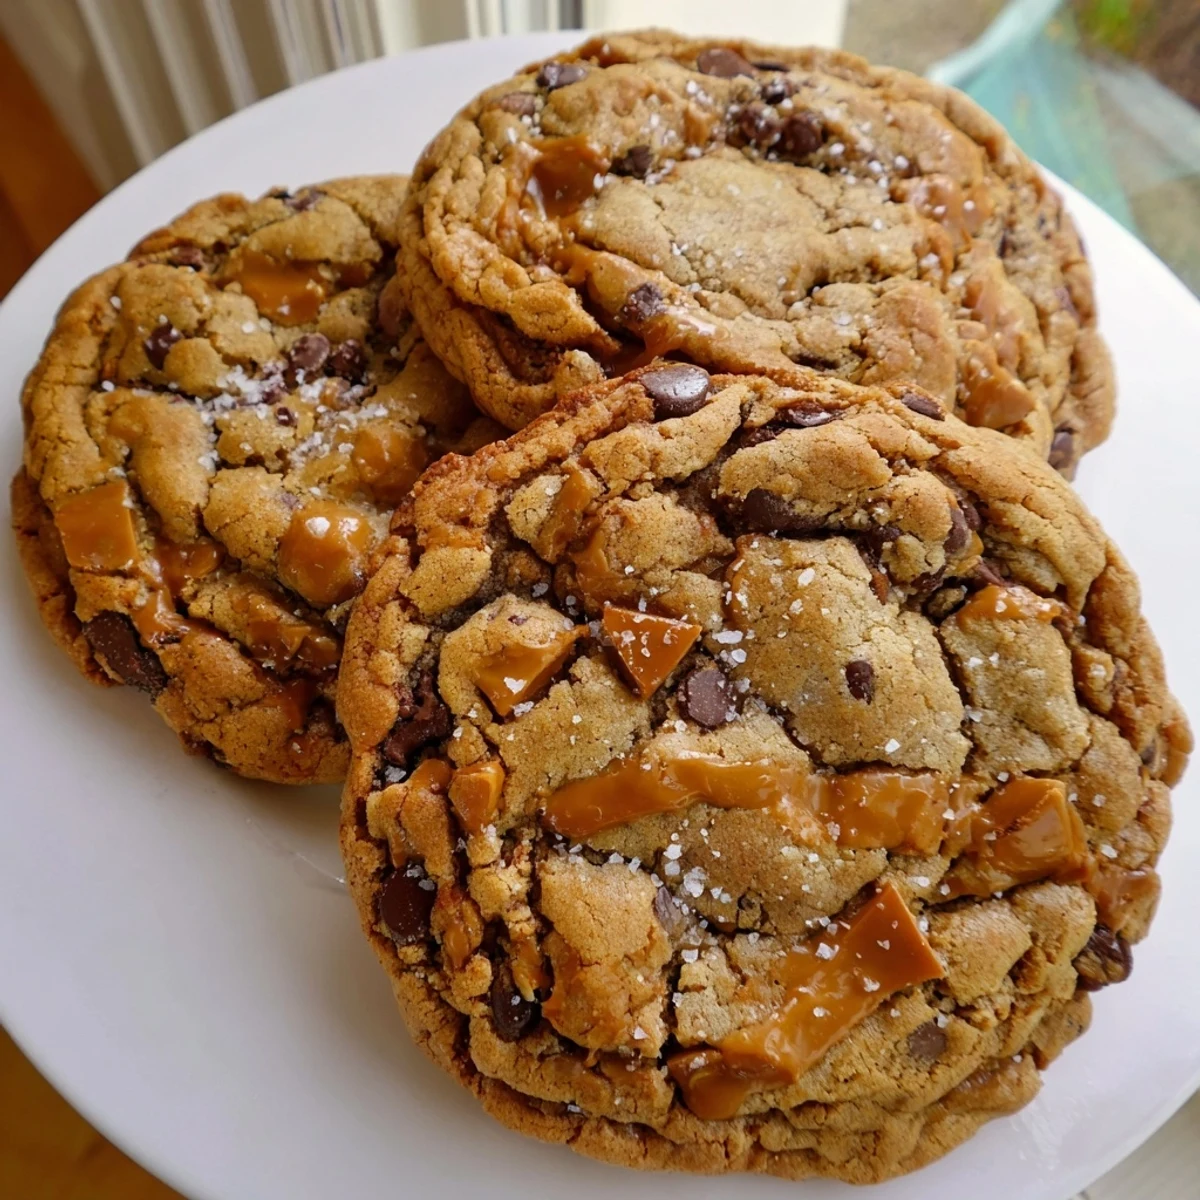
Save These indulgent cookies bring together the nutty depth of brown butter with golden toffee bits, melted dark chocolate pools, and a swirl of honey caramel. Each bite delivers a perfect sweet-salty balance thanks to a finishing sprinkle of flaky sea salt.
The dough requires a minimum one-hour chill, which allows the flavors to deepen and prevents excessive spreading during baking. For the best texture, slightly underbake them and let the residual heat finish the job on the tray.
The smell of brown butter hit me before I even realized what was happening, and suddenly I was standing in my kitchen at midnight, spoon in hand, completely unable to stop eating the dough straight from the bowl. My neighbor had dropped off a jar of homemade caramel that afternoon, and the combination of that golden sauce with nutty browned butter and dark chocolate chunks became an obsession I could not shake. These cookies are the result of three weeks of testing, a very patient husband who ate every batch without complaint, and one revelation about flaky salt that changed everything.
I brought a tin of these to a friend going through a rough divorce, and she called me at ten that night laughing, saying she had eaten six of them while watching terrible television and felt genuinely okay for the first time in weeks. That is the power of salted honey caramel and brown butter working together. Food does not fix everything, but sometimes it gets surprisingly close.
Ingredients
- Unsalted Butter (1 cup, 227 g): Browning the butter is the foundation of the entire recipe, so start with good quality butter and watch it carefully because it goes from golden to burnt in seconds.
- All-Purpose Flour (2 1/4 cups, 280 g): Spoon and level rather than scooping directly, which packs the flour and creates dry, cakey cookies nobody wants.
- Baking Soda (1 tsp): This gives the cookies their signature spread and those gorgeous crackly edges.
- Fine Sea Salt (1/2 tsp): Balances the sweetness in the dough itself, while the flaky salt on top provides that finishing contrast.
- Light Brown Sugar (1 cup, 200 g, packed): The molasses depth pairs beautifully with the nutty brown butter.
- Granulated Sugar (1/2 cup, 100 g): A mix of both sugars creates the ideal chewy center with crispy edges.
- Large Eggs (2, room temperature): Room temperature eggs incorporate more smoothly into the brown butter mixture.
- Pure Vanilla Extract (1 tbsp): A generous amount enhances the caramel notes throughout.
- Honey (2 tbsp): This subtle addition gives the cookies a faint floral sweetness that makes people ask what your secret is.
- Caramel Sauce (1/3 cup, 100 g): Thick but pourable works best, and store bought is perfectly fine here.
- Semisweet or Dark Chocolate Chips or Chunks (1 1/2 cups, 255 g): Chopped chocolate bars create those beautiful melty pools, but chips work wonderfully too.
- Toffee Bits (1 cup, 170 g): These little gems melt slightly and create buttery caramelized pockets throughout each cookie.
- Flaky Sea Salt (for topping): Maldon is my go to, and this single touch elevates the entire cookie.
Instructions
- Brown the Butter:
- Melt the butter in a medium saucepan over medium heat, then keep cooking and swirling the pan as it foams and sputters until you see golden brown flecks and smell toasted hazelnuts. Pour it immediately into a large mixing bowl and let it cool for 10 minutes so it does not cook the eggs later.
- Mix the Dry Ingredients:
- In a separate bowl, whisk together the flour, baking soda, and fine sea salt until evenly distributed.
- Combine the Wet Ingredients:
- Add both sugars to the cooled brown butter and beat until well combined, then add the eggs one at a time mixing thoroughly after each before stirring in the vanilla, honey, and caramel sauce until the mixture is smooth and glossy.
- Make the Dough:
- Gradually add the dry ingredients to the wet mixture, mixing only until the last streak of flour disappears, then gently fold in the chocolate chips and toffee bits with a spatula.
- Chill the Dough:
- Cover the bowl and refrigerate for at least one hour or up to 24 hours, which is the secret to deep flavor and cookies that hold their shape instead of spreading into flat puddles.
- Preheat the Oven:
- Heat your oven to 350 degrees Fahrenheit and line two baking sheets with parchment paper.
- Shape the Cookies:
- Scoop 2 tablespoon portions of dough onto the prepared sheets, spacing them about 2 inches apart to give them room to spread.
- Bake:
- Bake for 11 to 13 minutes until the edges are golden but the centers still look slightly underbaked and puffy.
- Finish and Cool:
- Remove from the oven and immediately sprinkle each cookie with flaky sea salt, then let them cool on the baking sheet for 5 minutes before transferring to a wire rack.
 Save
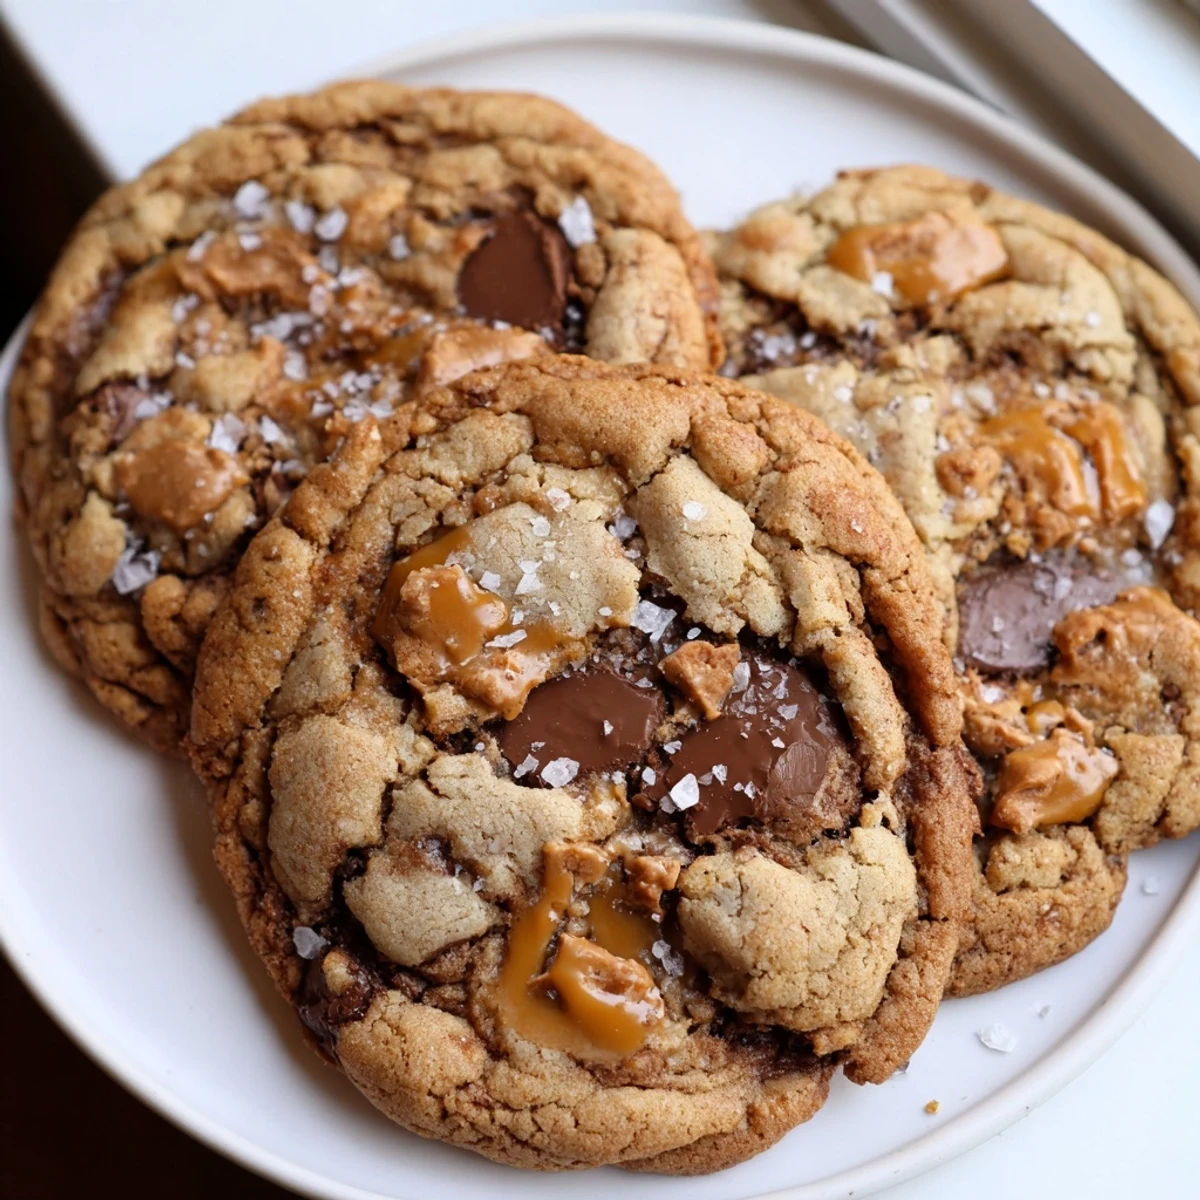
Save The moment these became more than just cookies was when my daughter started requesting them for her birthday instead of cake, sitting at the kitchen counter with her friends, each of them carefully picking which cookie had the most chocolate pools.
What I Learned From Too Many Batches
The first time I made these, I skipped the chilling step entirely because I was impatient, and they spread into one massive crispy rectangle on the baking sheet that actually still tasted incredible but was definitely not a cookie. Chilling is not optional here, and honestly the dough tastes even better after sitting overnight in the fridge as the brown butter and honey meld together.
Swaps That Actually Work
Dulce de leche can stand in beautifully for the caramel sauce if that is what you have on hand, adding a slightly richer and deeper flavor. Dark chocolate chopped from a bar rather than chips creates those dramatic melty puddles that make people think you are a professional baker, though semisweet chips are completely delicious and far less messy.
Storing and Sharing
These keep beautifully in an airtight container at room temperature for about five days, though they rarely last that long in my house. You can also freeze the scooped dough balls on a sheet pan and transfer them to a bag for impromptu fresh baked cookies whenever the craving hits.
- A quick reheat in the microwave for eight seconds brings leftover cookies back to that fresh from the oven warmth.
- Frozen dough balls need an extra minute or two of baking time straight from the freezer.
- Always check your toffee bits and caramel labels for hidden allergens if you are sharing with others.
 Save
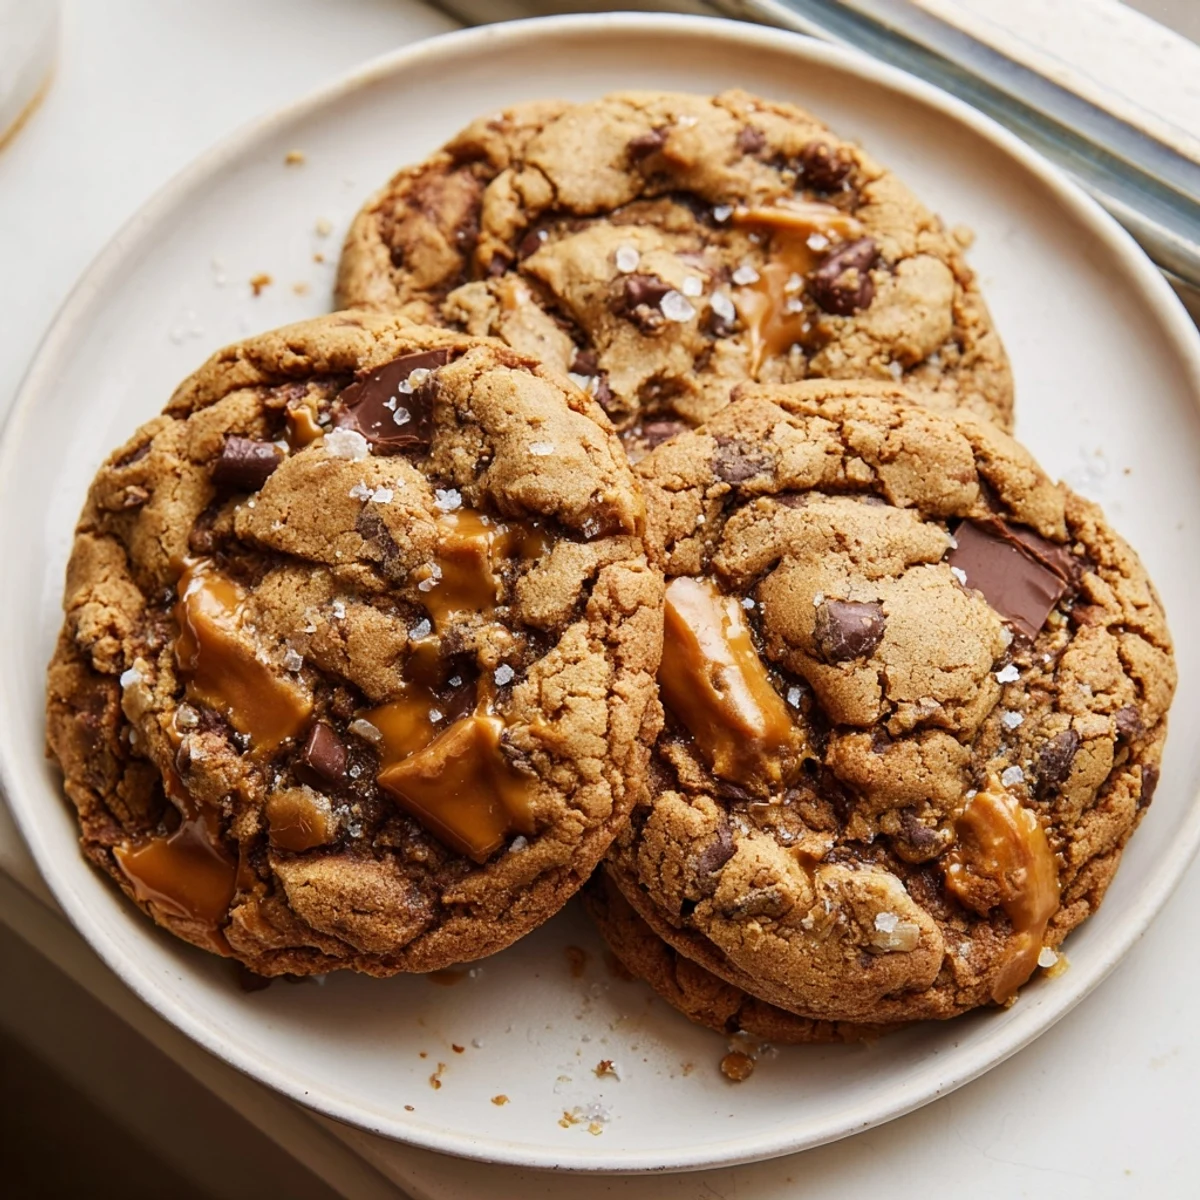
Save There is something deeply satisfying about pulling a tray of these from the oven, watching the chocolate still glistening and the edges just set, knowing you are about to make someone whole day a little bit better. Bake them once and they will become part of your story too.
Recipe Questions & Answers
- → Why should I brown the butter first?
-
Browning butter toasts the milk solids, creating a nutty, caramel-like aroma that adds incredible depth to the dough. It elevates the entire flavor profile beyond standard chocolate chip cookies.
- → Can I skip the chilling step?
-
Chilling is strongly recommended. It allows the brown butter to re-solidify, prevents the cookies from spreading too thin, and gives the flour time to hydrate, resulting in chewier, thicker cookies with more concentrated flavor.
- → What kind of caramel sauce works best?
-
Use a thick but still pourable caramel sauce — either store-bought or homemade. Dulce de leche is a great alternative if you want a richer, creamier flavor profile.
- → How do I get those melted chocolate pools?
-
Instead of standard chips, chop a high-quality dark chocolate bar into rough chunks. The irregular pieces create those beautiful, gooey melted pockets throughout each cookie.
- → Why does my toffee look burnt?
-
Toffee bits can darken quickly during baking. Make sure your oven temperature is accurate with an oven thermometer, and pull the cookies when the edges are just golden — the centers should still look slightly underdone.
- → How should I store leftover cookies?
-
Store cooled cookies in an airtight container at room temperature for up to five days. Place a piece of bread in the container to keep them soft and chewy. You can also freeze baked cookies for up to three months.