 Save
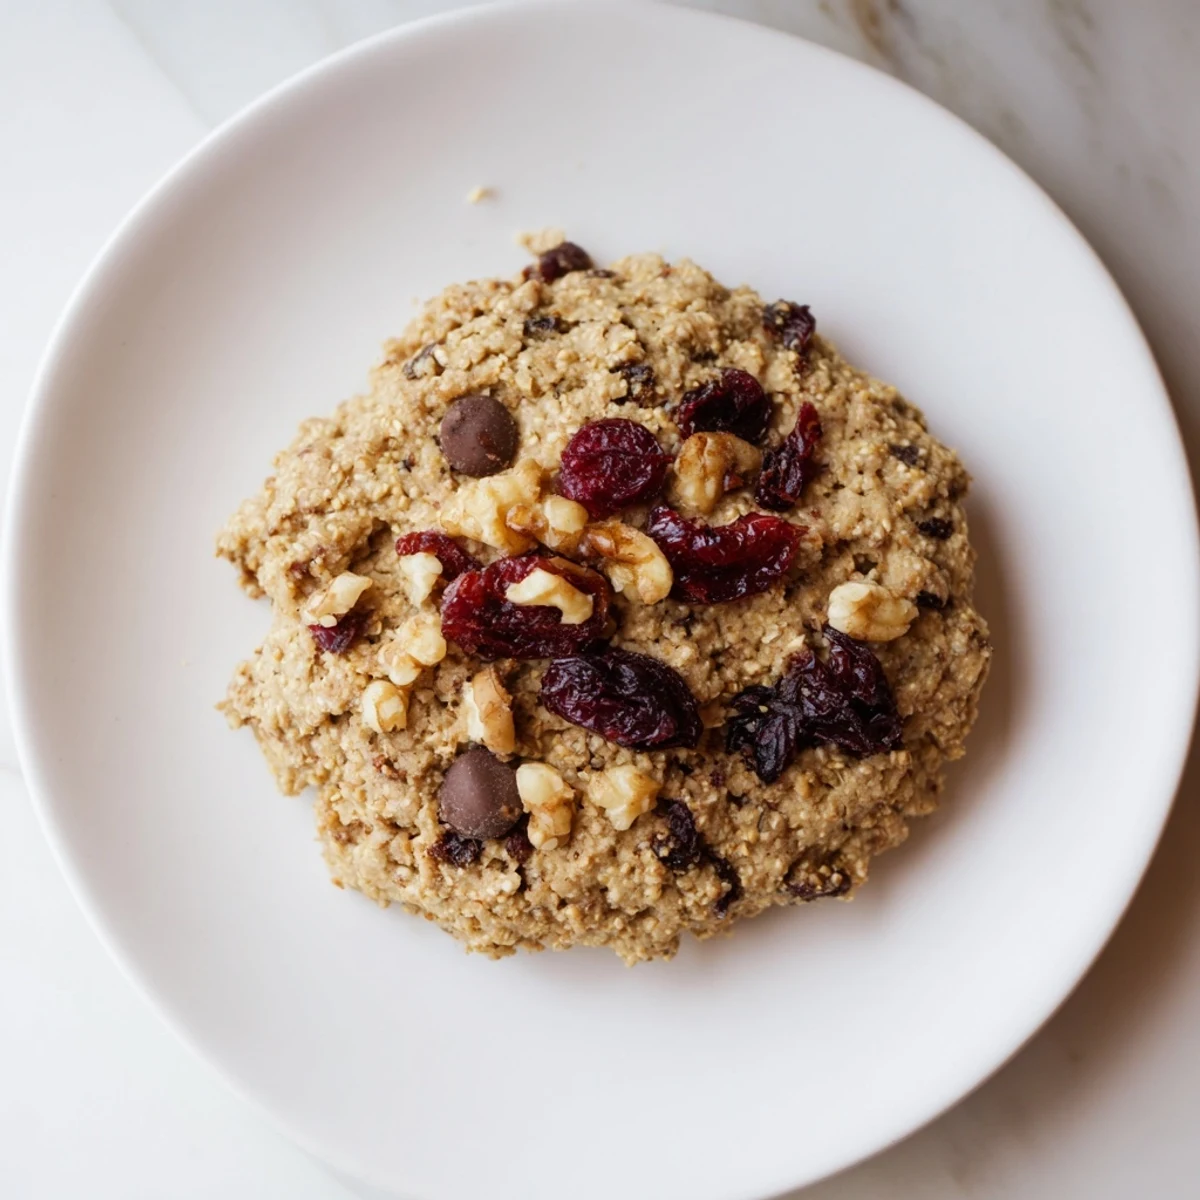
Save These soft, chewy delights combine cooked quinoa, gluten-free oats, and almond flour for a nutty base. Infused with cinnamon, ginger, and nutmeg, they offer a warm spice profile accented by dried cranberries and optional walnuts or chocolate chips. Sweetened naturally with maple syrup and balanced with vanilla, they bake into golden edges with tender centers. Ideal for cozy snacking, they accommodate gluten-free and vegetarian preferences and pair well with spiced teas or mulled cider.
I discovered these Winter Quinoa Cookies on a particularly cold December afternoon when I was searching for something to bake that felt both comforting and nourishing. My pantry had been recently stocked with quinoa from a farmers market visit, and I realized I'd been overlooking it as a dessert ingredient. The moment I folded those fluffy cooked grains into the dough, something magical happened—the cookies transformed into these wonderfully chewy, subtly nutty bites that reminded me why I love baking experiments. They became my go-to gift that winter, wrapped in parchment and tied with twine.
I'll never forget the moment my mother took her first bite of these cookies straight from the cooling rack. She closed her eyes and said, 'These taste like winter tastes.' That one comment made all the recipe testing worthwhile. Now, whenever I bake them, I think of that Sunday in her kitchen and how food becomes a language of its own.
Ingredients
- Cooked quinoa: This is the secret weapon—it adds a delicate nuttiness and wonderful texture that keeps the cookies tender and slightly chewy. I always cook mine a bit firmer than usual and let it cool completely so it doesn't add excess moisture to the dough.
- Gluten-free rolled oats: They bring heartiness and that wholesome bite. Make sure they're certified gluten-free if that matters for your kitchen.
- Almond flour: This creates incredible moisture and richness. It's the reason these cookies never feel dry or crumbly.
- Coconut oil: Melted coconut oil keeps everything tender and adds a whisper of tropical flavor that plays beautifully with the spices.
- Maple syrup: This is gentler than refined sugar and brings a subtle depth that complements the winter spice blend.
- Ground cinnamon, ginger, and nutmeg: These spices are non-negotiable. They're what transform these from ordinary cookies into something that smells like the season itself.
- Dried cranberries: They add pops of tartness that balance the spices. You can swap them for dried cherries or raisins depending on what you have or prefer.
- Walnuts and dark chocolate chips: Both are optional, but I include them almost always because they add texture and richness that feels generous.
Instructions
- Prepare Your Space:
- Preheat your oven to 350°F and line two baking sheets with parchment paper. This simple step prevents sticking and gives you one less thing to worry about when you're in the flow of baking.
- Combine the Dry Ingredients:
- In a large mixing bowl, whisk together the cooled quinoa, oats, almond flour, baking soda, salt, and all three spices. As you whisk, you'll notice the mixture becoming fragrant—that's when you know the spices are waking up. Take a moment to smell it. This is what your cookies will smell like.
- Mix the Wet Ingredients:
- In a separate bowl, beat the eggs until they're slightly frothy. Add your melted coconut oil, maple syrup, and vanilla extract. Stir until smooth and well combined. The mixture should be glossy and cohesive.
- Bring It Together:
- Pour the wet mixture into the dry ingredients and stir gently until just combined. Don't overmix—the dough should come together but still feel slightly rustic. This restraint is what keeps the cookies tender.
- Add Your Mix-Ins:
- Fold in the cranberries, walnuts, and chocolate chips with a few gentle strokes. Let them distribute naturally throughout the dough rather than forcing them in aggressively.
- Shape and Space:
- Using a spoon or cookie scoop, drop tablespoon-sized mounds onto your prepared baking sheets, leaving about 2 inches between each cookie. Gently flatten each one with the back of your spoon. They don't need to be perfect—the slight irregularities make them look homemade and inviting.
- Bake Until Golden:
- Slide the sheets into your preheated oven for 13-15 minutes. You're looking for golden edges with centers that still look just barely set. This is the sweet spot between chewy and cooked through. The cookies will continue to set slightly as they cool.
- Cool with Patience:
- Let them rest on the baking sheet for 5 minutes—this is crucial because they're still setting. Then transfer them to a wire rack to cool completely. Waiting is hard, but it's worth it.
 Save
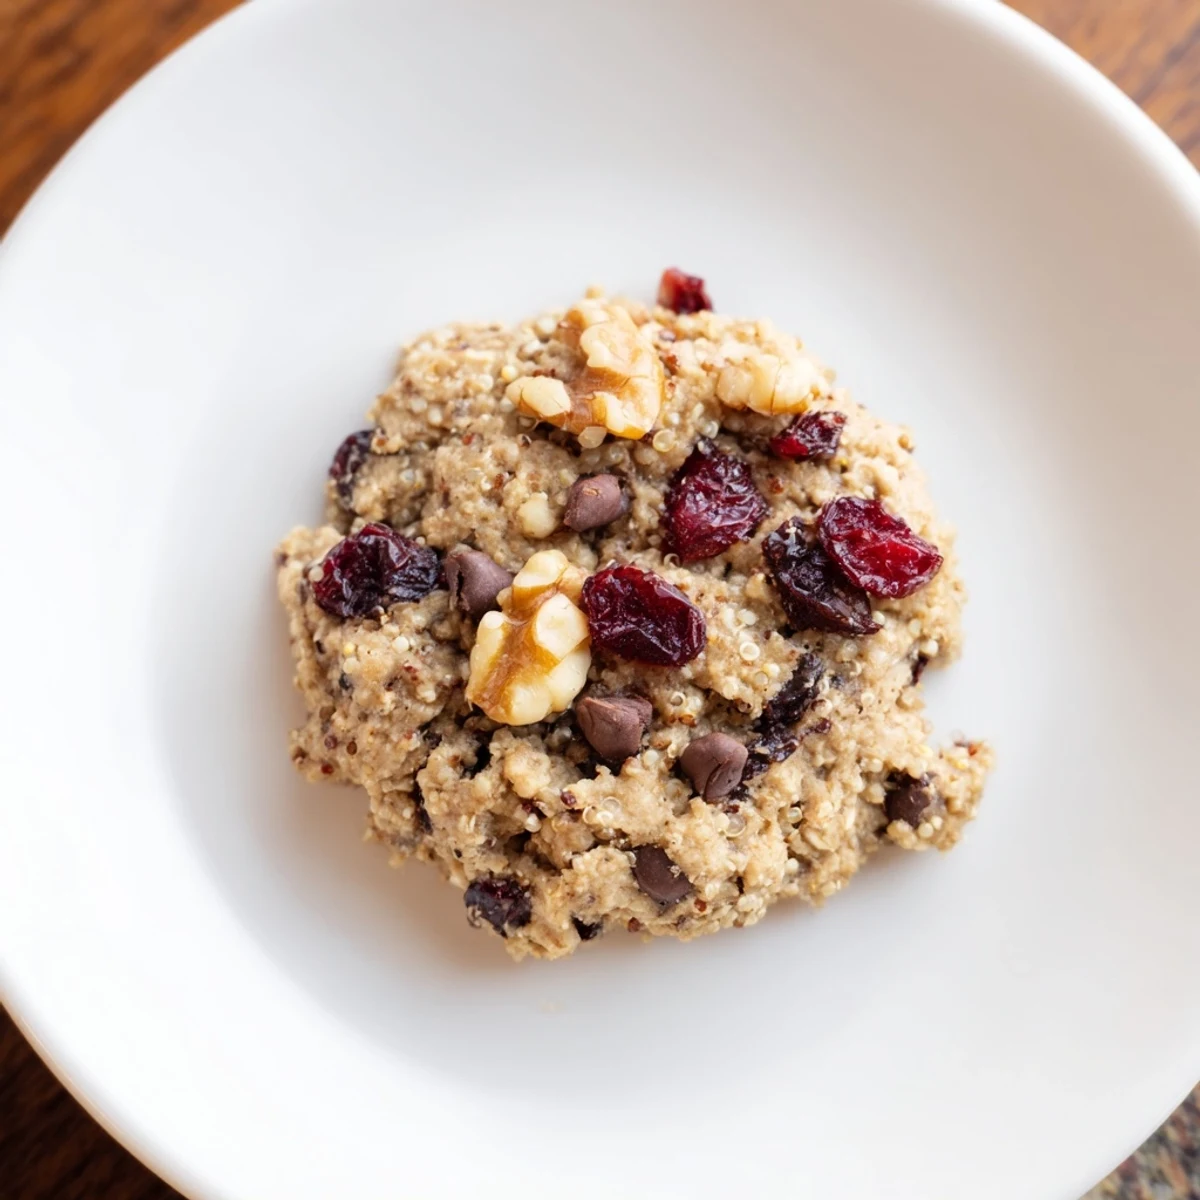
Save What I love most about these cookies is that they've become a bridge between health-consciousness and pure comfort. A friend once told me they felt like eating something that genuinely cared about their wellbeing, and that's exactly what I was going for when I created them.
Why Quinoa in Cookies Works
Quinoa might seem like an unusual cookie ingredient, but it's actually brilliant once you understand what it does. It adds a subtle earthiness and tender chewiness that you can't achieve with flour alone. The slight nuttiness complements warm spices perfectly, and because quinoa is naturally fluffy and light, it keeps the cookies from becoming dense or heavy. I started experimenting with it because I wanted cookies that felt special and a little bit different—something that would make people pause and ask 'what's that flavor?'
The Spice Ratio That Changed Everything
When I first made these cookies, I used half the spices listed here, thinking I didn't want them to overpower. They were pleasant but forgettable. The second batch, I doubled down, and suddenly they tasted like December—warm, welcoming, and impossible to stop eating. The ratio here is calibrated so the spices complement rather than dominate. Cinnamon provides warmth, ginger adds a subtle spicy note, and nutmeg brings an almost mysterious depth. Together, they're greater than the sum of their parts.
Make-Ahead and Storage Wisdom
These cookies are excellent for meal planning and gift-giving because they keep beautifully for up to five days in an airtight container, and they freeze wonderfully for up to three months. I often make a double batch when I have the time and freeze half, so I can have fresh homemade cookies without the effort when I need them most. You can also refrigerate the dough for up to two days before baking if you want to space out your baking time.
- Store completely cooled cookies in an airtight container with parchment between layers to prevent sticking.
- For variations on busy weeks, try different dried fruits or nut combinations each time you bake.
- If you're planning to gift them, bake them a day or two early so they have time to develop their full flavor.
 Save
Save These cookies remind me that the best recipes are the ones that nourish both body and soul. Every bite is a little moment of warmth and care, which is exactly what winter baking should be.
Recipe Questions & Answers
- → Can I substitute walnuts for other nuts?
-
Yes, pecans work well as a substitute. You can also omit nuts for a nut-free version.
- → How do I make these without eggs?
-
Use a flax egg substitute by mixing 2 tbsp ground flaxseed with 5 tbsp water and letting it sit until gelatinous.
- → What baking temperature and time are best?
-
Preheat to 350°F (175°C) and bake for 13-15 minutes until edges turn golden and centers are set.
- → Can dried cherries be used instead of cranberries?
-
Absolutely, dried cherries or raisins are great alternatives for a different fruit flavor.
- → Are these suitable for gluten-free diets?
-
Yes, when using certified gluten-free oats, the cookies remain gluten-free and vegetarian friendly.
- → What tools are needed to prepare these cookies?
-
Basic kitchen tools like mixing bowls, a whisk, baking sheet, parchment paper, measuring cups, a spoon or cookie scoop, and a wire rack are recommended.