 Save
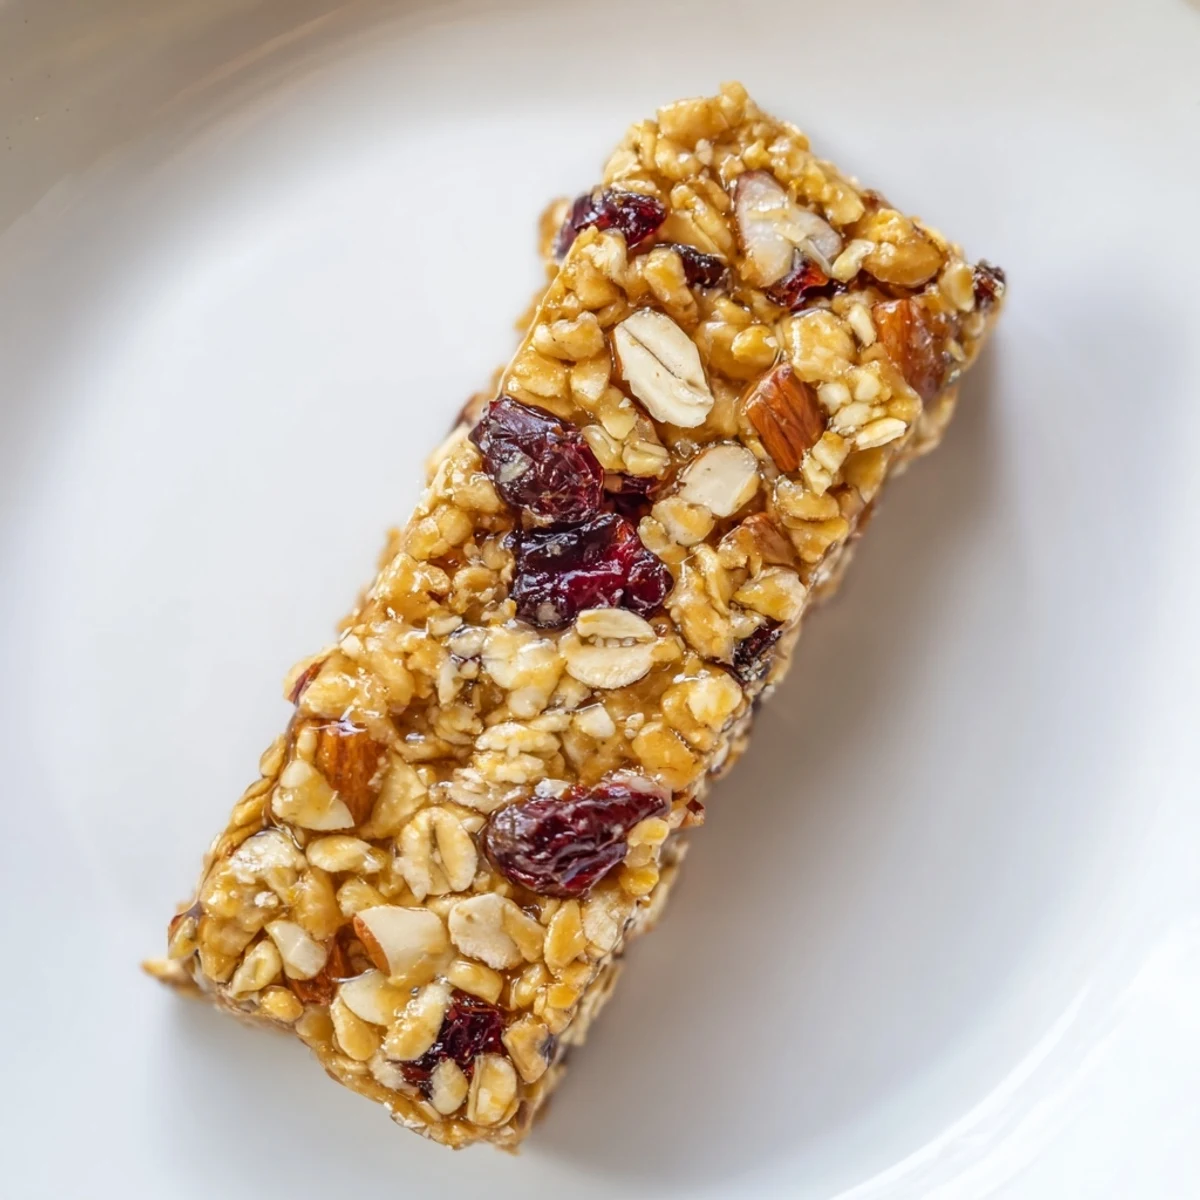
Save These chewy oat bars combine rolled oats, toasted nuts, shredded coconut, and dried cranberries bound together with maple syrup and coconut oil. Baked until golden and naturally sweet, they're an ideal plant-based snack or breakfast option. The bars stay fresh for several days in an airtight container and are easily customizable with your favorite nuts or seeds.
The morning sunlight was streaming through my kitchen window when I first decided to experiment with these vegan oat treats. I was tired of spending a fortune on store-bought granola bars that never quite satisfied. The aroma of toasted oats and cinnamon filled my tiny apartment as they baked, and I knew I'd stumbled onto something special.
Last summer, I packed a batch of these bars for a hiking trip with friends who had various dietary restrictions. As we reached the summit and everyone unwrapped their treats, I felt a strange pride watching even the most dedicated carnivores in our group reach for seconds, completely unaware they were enjoying something vegan. The bars fueled our descent and have become our traditional trail snack ever since.
Ingredients
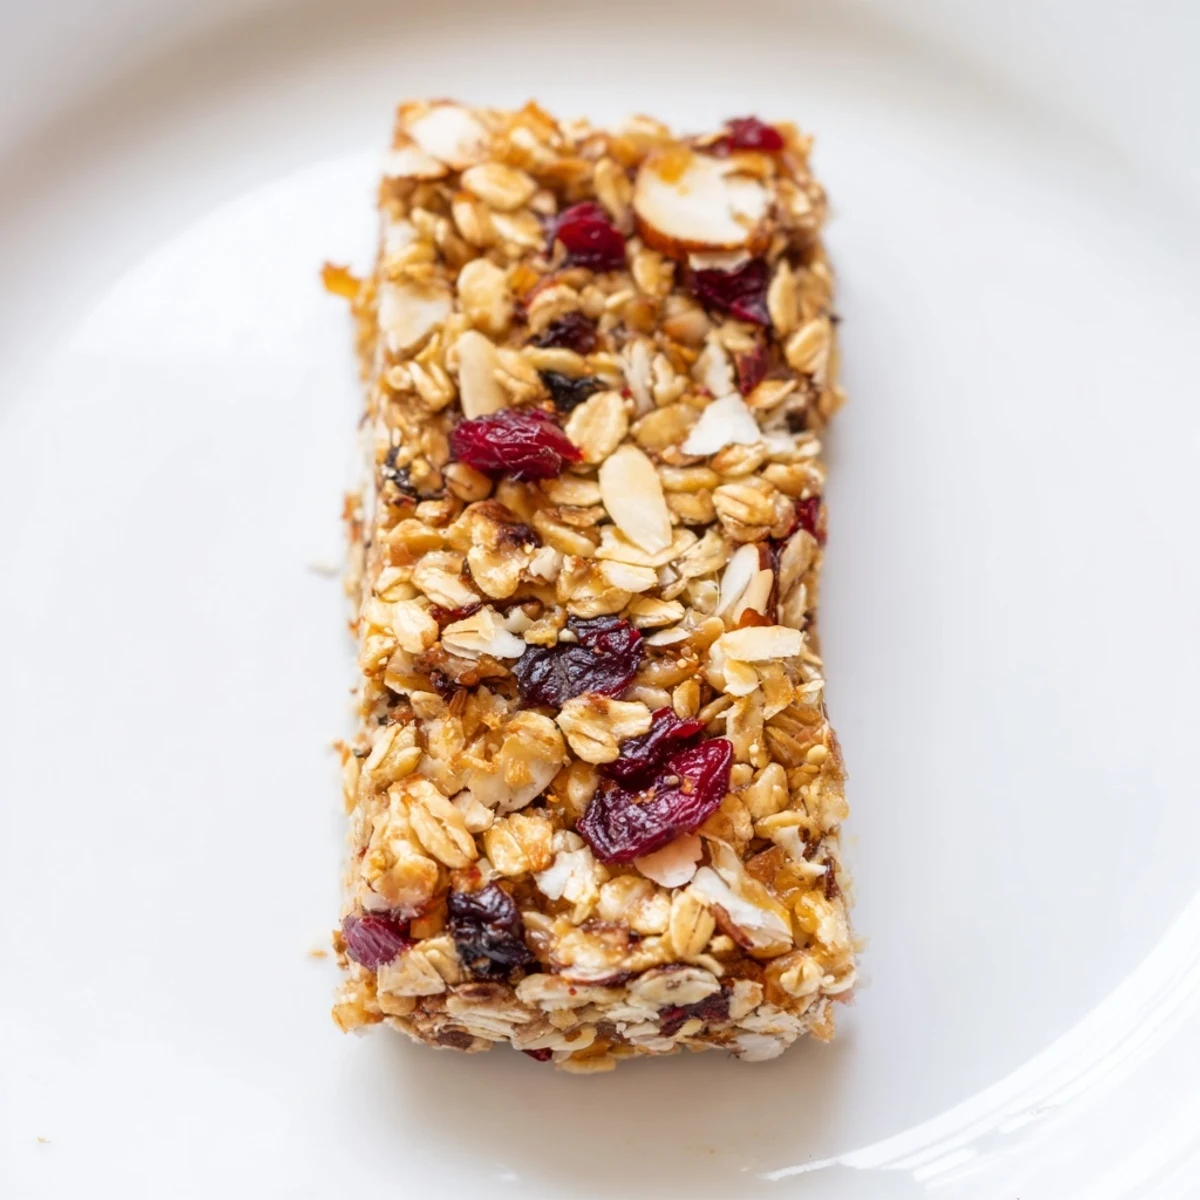
- Rolled oats: The heartbeat of this recipe, providing that satisfying chew and nutty flavor when toasted just right.
- Chopped nuts: I prefer a mix of almonds and walnuts for varied texture and nutrition, but use whatever you have on hand.
- Maple syrup: Real maple syrup adds complexity that plain sugar never could, binding everything with its sticky sweetness.
- Coconut oil: The secret to bars that hold together without butter, it solidifies when cool to create the perfect structure.
- Dried cranberries: These tart little gems provide bursts of flavor against the earthy oats and sweet maple.
Instructions
- Prep your workspace:
- Preheat your oven to 350°F and line your baking pan with parchment paper, leaving some overhang for easy removal later. This overhang will become your best friend when it's time to lift out the cooled bars.
- Mix the dry team:
- Combine your oats, nuts, coconut, dried fruit, chia seeds, cinnamon, and salt in a large bowl. I love watching the different textures and colors come together, creating little pockets of visual interest.
- Bring in the wet squad:
- Whisk together that golden maple syrup, melted coconut oil, and vanilla in a separate bowl until they become one harmonious mixture. The kitchen will start smelling amazing right about now.
- The grand union:
- Pour your wet ingredients over the dry mixture and stir until everything is evenly coated. You'll know it's ready when the mixture starts clumping together naturally when squeezed.
- Press with purpose:
- Transfer the mixture to your lined pan and press it down firmly. Really put some muscle into this step, as proper compression is key to bars that don't fall apart.
- Bake to golden perfection:
- Slide the pan into your preheated oven and bake for 22-25 minutes until the top takes on a light golden hue. Your kitchen will be filled with the most comforting aroma of toasted oats and cinnamon.
- Practice patience:
- Allow the mixture to cool completely in the pan before attempting to cut. This cooling period is crucial for the coconut oil to solidify and bind everything together.
 Save
Save One particularly difficult Monday morning, I grabbed one of these bars on my way out the door, expecting nothing more than a quick breakfast. Somehow, that simple act of nourishing myself with something homemade shifted my mood entirely. The familiar flavors grounded me, and I arrived at work with a calm that carried me through a challenging day.
Customization Ideas
Over the years, these bars have become a canvas for whatever ingredients are in my pantry. Sometimes I toss in dark chocolate chunks that create pockets of melty goodness, other times I add cardamom and dried apricots for a more exotic flavor profile. The base recipe is endlessly adaptable to whatever flavor journey you're craving.
Storage Solutions
These bars have become my meal prep secret weapon, especially during hectic weeks. I individually wrap them in parchment paper, then store in an airtight container where they maintain their perfect texture for up to five days. For longer storage, I freeze them with parchment between layers and simply thaw individual bars overnight.
Quick Troubleshooting
After making these bars monthly for over a year, I've encountered and solved every possible issue. If your bars seem too crumbly, you likely didn't press the mixture firmly enough or cut them before they fully cooled. If they're too soft, a few extra minutes in the oven or slightly less wet ingredients next time will do the trick.
- For extra-firm bars, chill them in the refrigerator before cutting with a sharp knife.
- If your mixture seems too dry before baking, add an extra tablespoon of coconut oil or maple syrup.
- Always store with parchment between layers to prevent sticking, especially in warmer weather when coconut oil softens.
 Save
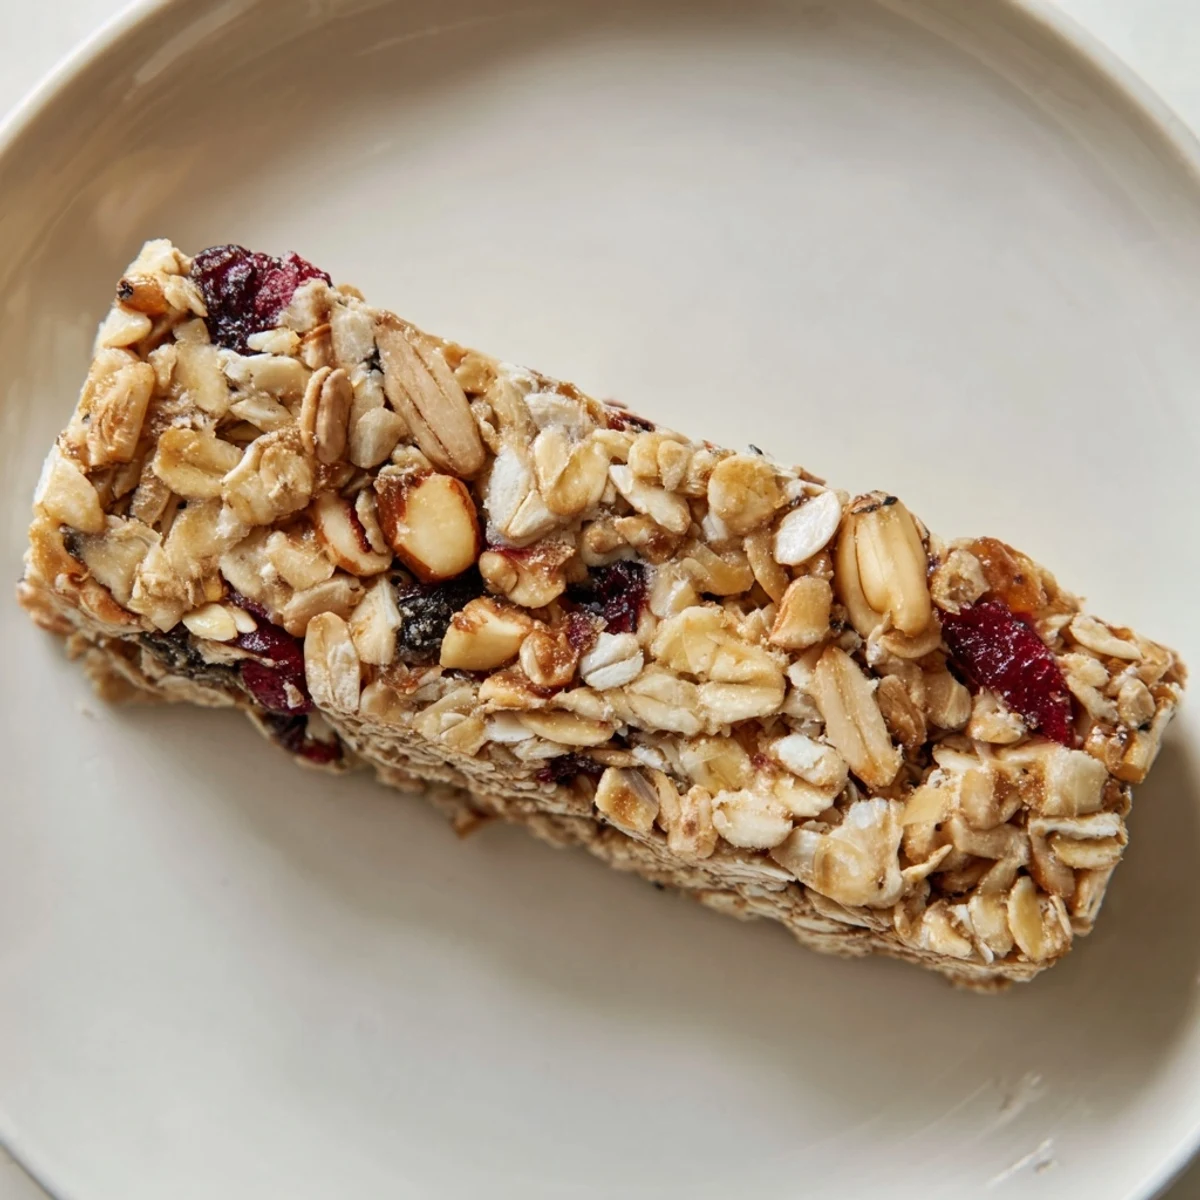
Save These vegan oat treats have become more than just a recipe in my collection, they're a reminder that nourishing yourself doesn't have to be complicated or time-consuming. Whenever I share them, I'm sharing a little piece of my kitchen philosophy, simple ingredients treated with care.
Recipe Questions & Answers
- → Can I make these bars nut-free?
-
Yes, simply replace the almonds or walnuts with an equal amount of sunflower seeds or pumpkin seeds. They'll provide the same texture and nutritional benefits while accommodating nut allergies.
- → How long do these bars stay fresh?
-
Store them in an airtight container at room temperature for up to 5 days. For longer storage, freeze them in a freezer-safe container for several weeks and thaw as needed.
- → Can I add chocolate to this?
-
Absolutely. Stir 2 tablespoons of cocoa powder into the dry ingredients for a chocolate-flavored version. You can also add chocolate chips to the mixture before baking.
- → What sweeteners can I substitute for maple syrup?
-
Agave nectar, brown rice syrup, or date paste work well as alternatives. Use equal amounts by volume. Avoid using refined sugar as it won't bind the mixture properly.
- → Why didn't my bars hold together?
-
Ensure you're pressing the mixture firmly into the pan before baking. If bars still crumble, they may need more binding. Try increasing the wet ingredients slightly or pressing down while still warm from the oven.