 Save
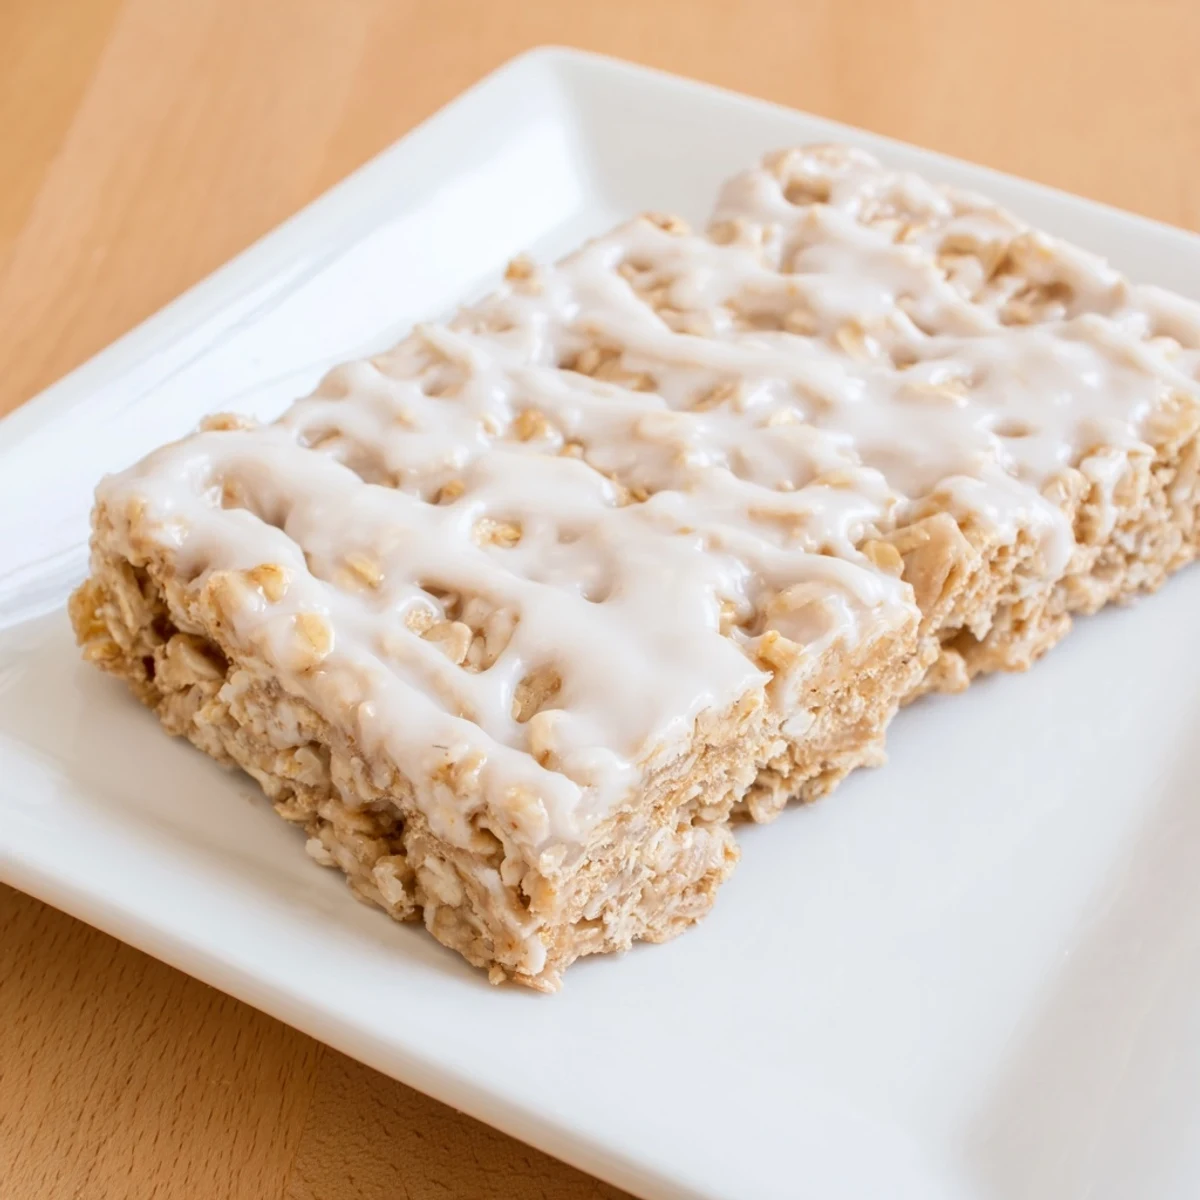
Save This chewy oat bar features a wholesome base made from rolled oats, flour, and brown sugar. Baked until golden, it is topped with a delicate vanilla glaze made from powdered sugar and milk to add a smooth sweetness. Simple steps and common ingredients combine for a quick, satisfying bar ideal as a snack or treat. Optional additions like nuts or chocolate chips can customize the flavor. Enjoy warm or cooled for a soft, flavorful bite.
The buttery aroma wafting from my oven always takes me back to rainy Sunday afternoons when I needed something comforting but didn't want to spend hours hovering over the stove. These oat bars became my go-to solution—simple enough to throw together between laundry loads, yet special enough that my roommates would drift into the kitchen, following that irresistible baked-oat smell like cartoon characters floating toward pie.
I first made these for a potluck when I completely forgot I'd signed up to bring dessert. Frantically searching my pantry at 11 PM, I found everything I needed and crossed my fingers. Next morning, I watched them disappear within minutes—someone actually asked for the recipe with frosting still on their lip, which I took as the highest possible compliment.
Ingredients
- 1 1/2 cups (135 g) rolled oats: Old-fashioned oats give the best chewy texture—quick-cooking oats can make the bars too dense
- 1 cup (125 g) all-purpose flour: Provides structure so the bars hold together when sliced
- 1/2 cup (100 g) light brown sugar, packed: Adds moisture and a subtle caramel depth that white sugar can't match
- 1/4 tsp salt: Enhances the vanilla and balances the sweetness
- 1/2 tsp baking soda: Helps the base rise slightly for a tender rather than tough texture
- 1/2 cup (115 g) unsalted butter, melted: Let it cool slightly before mixing so it doesn't cook the egg
- 1 large egg: Binds everything together into a cohesive dough
- 1 tsp vanilla extract: Pure extract makes a noticeable difference here
- 1 cup (120 g) powdered sugar, sifted: Sifting prevents lumps in your frosting
- 2–3 tbsp milk: Start with 2 tablespoons and add more only if needed for spreadable consistency
- 1/2 tsp vanilla extract: Adds that classic bakery flavor to the topping
- Pinch of salt: Keeps the frosting from tasting one-dimensionally sweet
Instructions
- Get your oven ready:
- Preheat to 350°F (175°C) and line an 8-inch square pan with parchment paper, letting the edges overhang like little handles for easy lifting later.
- Whisk the dry ingredients:
- In a large bowl, combine oats, flour, brown sugar, salt, and baking soda until evenly distributed.
- Mix the wet ingredients:
- In a separate bowl, whisk melted butter, egg, and vanilla until smooth, then pour into the dry mixture.
- Combine and press:
- Stir until just combined—some dry spots are okay—then press the mixture firmly and evenly into your prepared pan using the back of a spoon or your fingers.
- Bake until golden:
- Bake for 22–25 minutes until the edges are lightly golden and the center feels set when gently touched.
- Make the frosting:
- While bars cool, whisk powdered sugar, milk, vanilla, and salt until completely smooth and spreadable.
- Frost and finish:
- Once bars are mostly cool (warm is fine, hot will melt the frosting), spread evenly and let set for 15 minutes before slicing.
 Save
Save My sister claimed she didn't like oat bars until she tried these at my apartment. Now she texts me every few weeks asking if I'm 'making those things,' and I've learned to always double the recipe because a single batch mysteriously vanishes whenever she visits.
Getting the Right Frosting Consistency
I learned the hard way that frosting consistency makes or breaks these bars. Too thick and it tears the surface when you spread it. Too thin and it slides off the edges. The sweet spot is like thick honey—slowly spreadable but not runny. If you accidentally add too much milk, whisk in another spoonful of powdered sugar to save it.
Customizing the Base
The oat base is surprisingly forgiving. I've added chopped walnuts, dried cranberries, and even shredded coconut on different occasions. Each addition changes the character completely—nuts make them feel more substantial, dried fruit adds bright tangy pockets, and coconut creates a tropical vibe that my nieces absolutely loved.
Storage and Make-Ahead Tips
These bars actually taste better the next day once the flavors have melded and the frosting has set completely. I often bake them in the evening and frost first thing in the morning for the cleanest cuts.
- Stack bars between parchment paper in an airtight container to prevent sticking
- Freeze unfrosted bars for up to 3 months, then thaw and frost when needed
- Bring refrigerated bars to room temperature for 20 minutes before serving for the best texture
 Save
Save There's something deeply satisfying about a recipe that feels special but doesn't require you to be a trained pastry chef or own fancy equipment. These bars have earned their permanent spot in my regular rotation, and I suspect they might find their way into yours too.