 Save
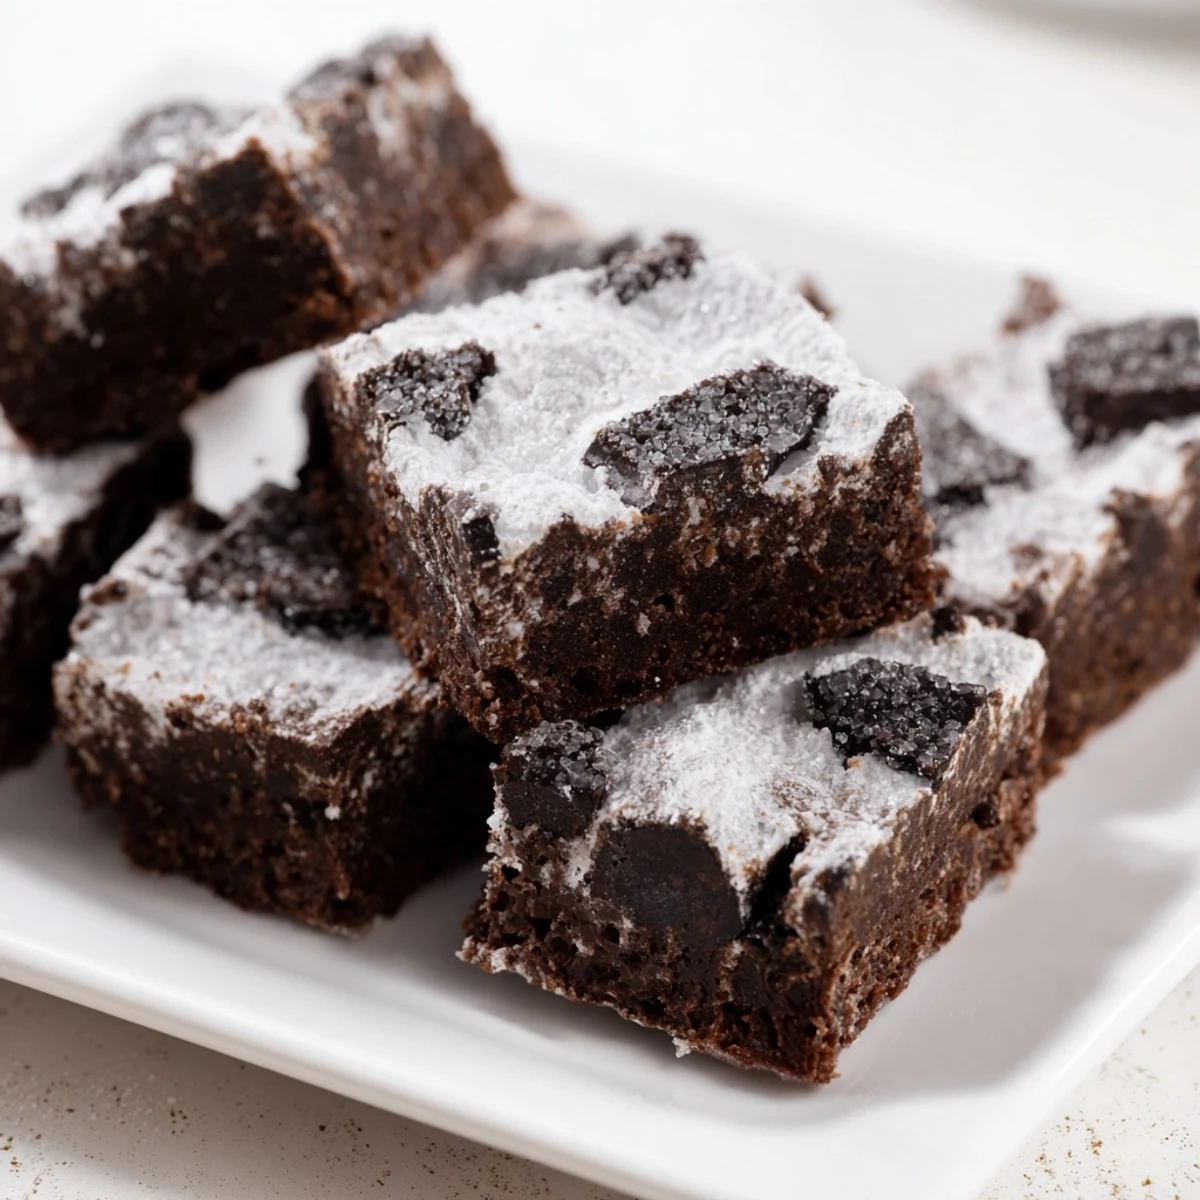
Save Experience the perfect balance of rich cacao and creamy frosting in these bars. Crafted with quality cocoa and a sweet topping, they offer a delightful treat that's both satisfying and flavorful. Ideal for a quick indulgence or sharing with friends, these bars combine smooth texture with intense cocoa notes.
I still remember the afternoon my grandmother pulled a tray of frosted cacao bars from her oven, and the entire kitchen filled with this rich, chocolate warmth that made me forget about everything else. She'd been making them for years, these dense, fudgy little squares with their silky frosting on top, and watching her press that frosting smooth with the back of a warm spoon was like witnessing pure kitchen magic. That day, she finally let me help, and I understood why these bars had become her signature—they weren't just dessert, they were the edible version of coming home.
I made these for a bake sale at my daughter's school, and three batches sold out within the first thirty minutes. Parents were coming back asking for the recipe, and I'd just smile and say they were a family secret. But honestly, the secret is just good butter, real cocoa, and the patience to let them cool completely before frosting. That day taught me that sometimes the simplest things, made with care, become the ones people remember.
Ingredients
- All-purpose flour: Use two cups—it gives the bars structure without making them heavy. Measure by spooning and leveling, never scooping directly from the bag, because that packs in too much flour and makes everything dense.
- Unsweetened cocoa powder: Three-quarters of a cup, and please use the real thing, not a mix. The cocoa is what makes these bars sing, so don't skimp here.
- Baking powder: One and a half teaspoons, which gives the bars a tender crumb that doesn't feel cakey but also isn't brownie-heavy.
- Salt: One teaspoon, and it's crucial—it balances all that sweetness and actually makes the chocolate taste more chocolatey.
- Unsalted butter: One cup softened, which is half a pound. Using unsalted lets you control the salt level and gives you better control over the frosting too.
- Granulated sugar: Two cups, which sweetens the bars properly without overwhelming them.
- Eggs: Two large ones at room temperature—cold eggs won't emulsify as well with the butter.
- Vanilla extract: Two teaspoons, pure vanilla only. It adds depth that imitation just can't touch.
- Powdered sugar: Three cups for the frosting, sifted to remove lumps before you start.
- Cocoa powder for frosting: One-quarter cup unsweetened, which deepens the frosting flavor and makes it more than just sweet.
- Butter for frosting: Six tablespoons softened, because you need enough fat for the frosting to be spreadable but not greasy.
- Heavy cream or milk: Three to four tablespoons to get the frosting to the right consistency—start with three and add more if needed.
Instructions
- Prepare and preheat:
- Heat your oven to 350 degrees Fahrenheit. Line a 9-by-13-inch baking pan with parchment paper, leaving some overhang so you can lift the bars out later. This matters more than you'd think—it makes everything easier and ensures even baking.
- Mix the dry ingredients:
- In a medium bowl, whisk together the flour, cocoa powder, baking powder, and salt. This aeration from whisking is important—it prevents lumps and distributes the leavening evenly. Take your time here.
- Cream butter and sugar:
- In a large bowl, beat the softened butter and granulated sugar together for about three minutes until it's light and fluffy. You're incorporating air, which helps the bars rise slightly. Stop when it looks almost cloud-like and pale.
- Add eggs and vanilla:
- Add the eggs one at a time, beating well after each addition. Then add the vanilla. The mixture should look smooth and emulsified—if it looks separated, beat it a bit longer. This is where the texture starts forming.
- Combine wet and dry:
- Add the dry ingredients to the wet ingredients in two additions, stirring gently just until combined. Don't overmix—you want a batter that's uniform but not overworked. Overmixing develops gluten and makes the bars tough.
- Spread and bake:
- Pour the batter into your prepared pan and spread it evenly. Bake for 25 to 30 minutes—the bars are done when a toothpick inserted in the center comes out with just a few moist crumbs. They'll feel slightly soft in the center; that's perfect. Overbaking makes them dry.
- Cool completely:
- This step people rush, and I'm guilty of it too. Let the bars cool in the pan for at least 20 minutes, then lift them out using the parchment overhang and cool them completely on a wire rack. If you frost them while they're warm, the frosting melts and slides right off.
- Make the frosting:
- In a medium bowl, beat the softened butter until creamy, about one minute. Add the sifted powdered sugar and cocoa powder and beat until combined. Add the cream one tablespoon at a time, beating until the frosting is smooth, spreadable, and has a consistency like thick peanut butter. It should hold its shape but not be stiff.
- Frost the bars:
- Spread the frosting evenly over the cooled bars. If it's resisting, dip a warm knife in hot water and use that to spread it—the warmth helps it relax without tearing the cake underneath. Be generous but not wasteful.
- Set and slice:
- Let the frosting set at room temperature for about 30 minutes before slicing. Use a sharp knife and wipe it clean between cuts—this gives you clean edges instead of frosting smears. A thin knife heated under hot water works beautifully too.
 Save
Save Years later, I still make these bars whenever someone needs comfort food or a reminder that the best things in the kitchen are usually the simplest. They've become the gift I bring to potlucks, the thing I bake for neighbors, the bars my kids request for their birthdays. There's something beautiful about a recipe that asks for nothing fancy but gives back so much.
Storage and Keeping
These bars keep beautifully in an airtight container at room temperature for up to five days, and honestly they might even taste better on day two when the flavors have deepened and mellowed together. If you want to keep them longer, you can wrap individual bars tightly and freeze them for up to two months. Let them thaw at room temperature before eating—the frosting stays creamy and the cake stays tender.
Variations to Explore
Once you've mastered the basic version, there's so much you can do. Some people add espresso powder to the dry ingredients for extra depth, and it really does make the chocolate more mysterious and sophisticated. Others swirl a little peanut butter frosting on top before it sets, which is indulgent but also somehow balanced because the nuttiness cuts through the richness.
Why These Bars Matter
There's a reason chocolate bars have been a staple in home baking forever—they're humble enough to feel doable, but they deliver real chocolate satisfaction without pretension. They're the kind of recipe that works every time if you just follow the steps and don't second-guess yourself.
- Start with room temperature ingredients and measure carefully, because small changes in ratios actually matter here.
- Don't try to speed up the cooling process with the refrigerator—slow, even cooling prevents cracks and keeps the texture uniform.
- If your frosting seems too soft, chill it for 15 minutes before spreading, and it'll firm up enough to cooperate with your knife.
 Save
Save These frosted cacao bars are proof that good baking doesn't require fancy ingredients or complicated techniques—it just requires showing up, paying attention, and giving yourself grace when things don't turn out perfectly the first time. That's how recipes become part of who we are.