 Save
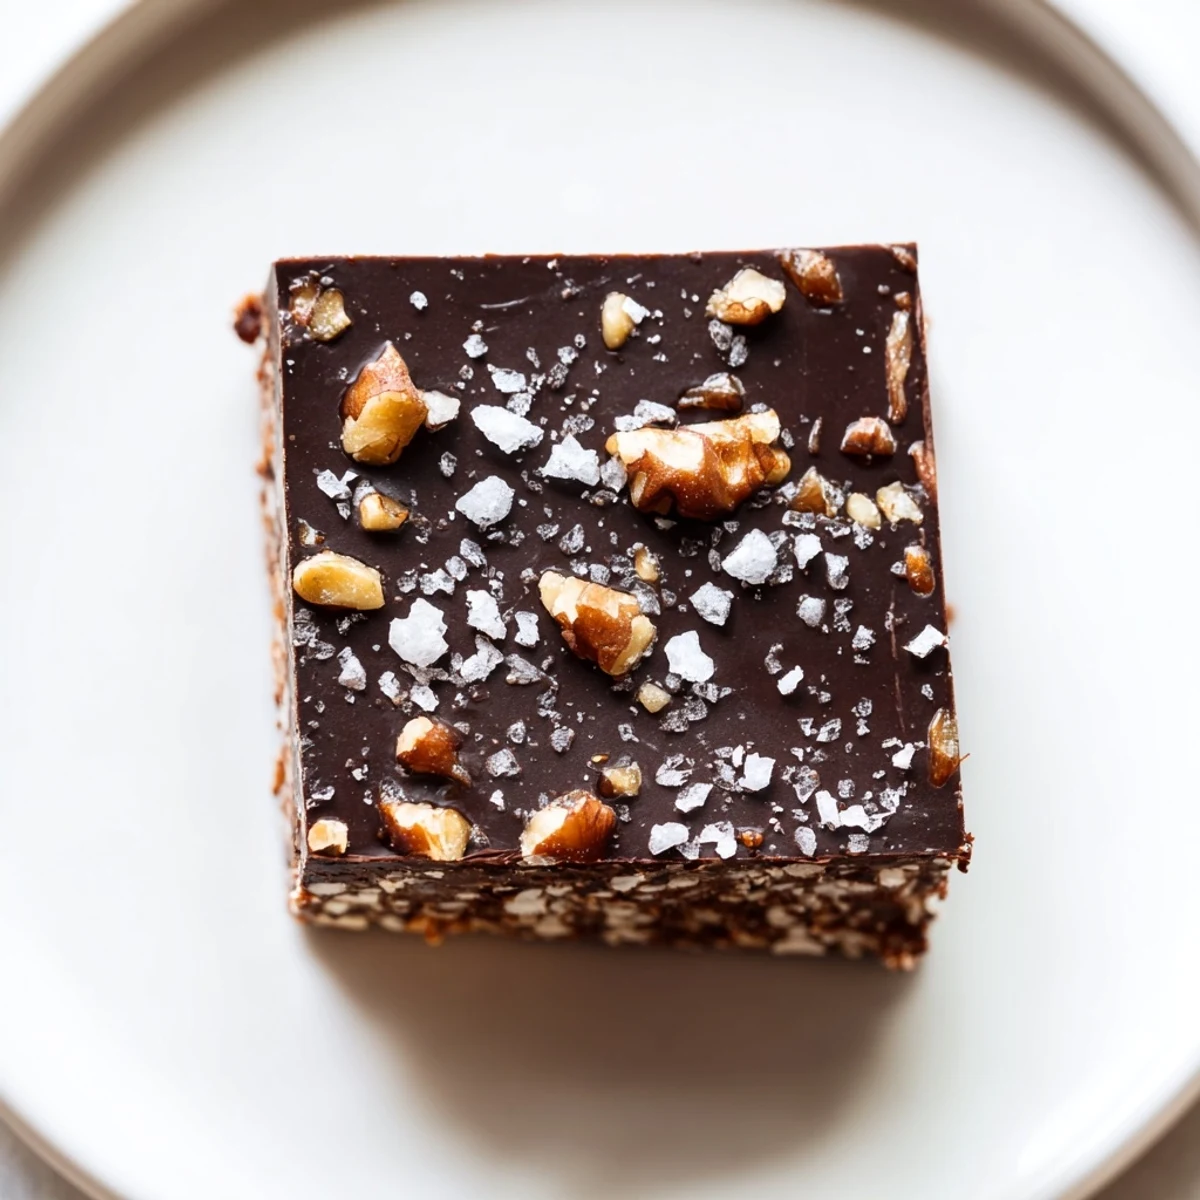
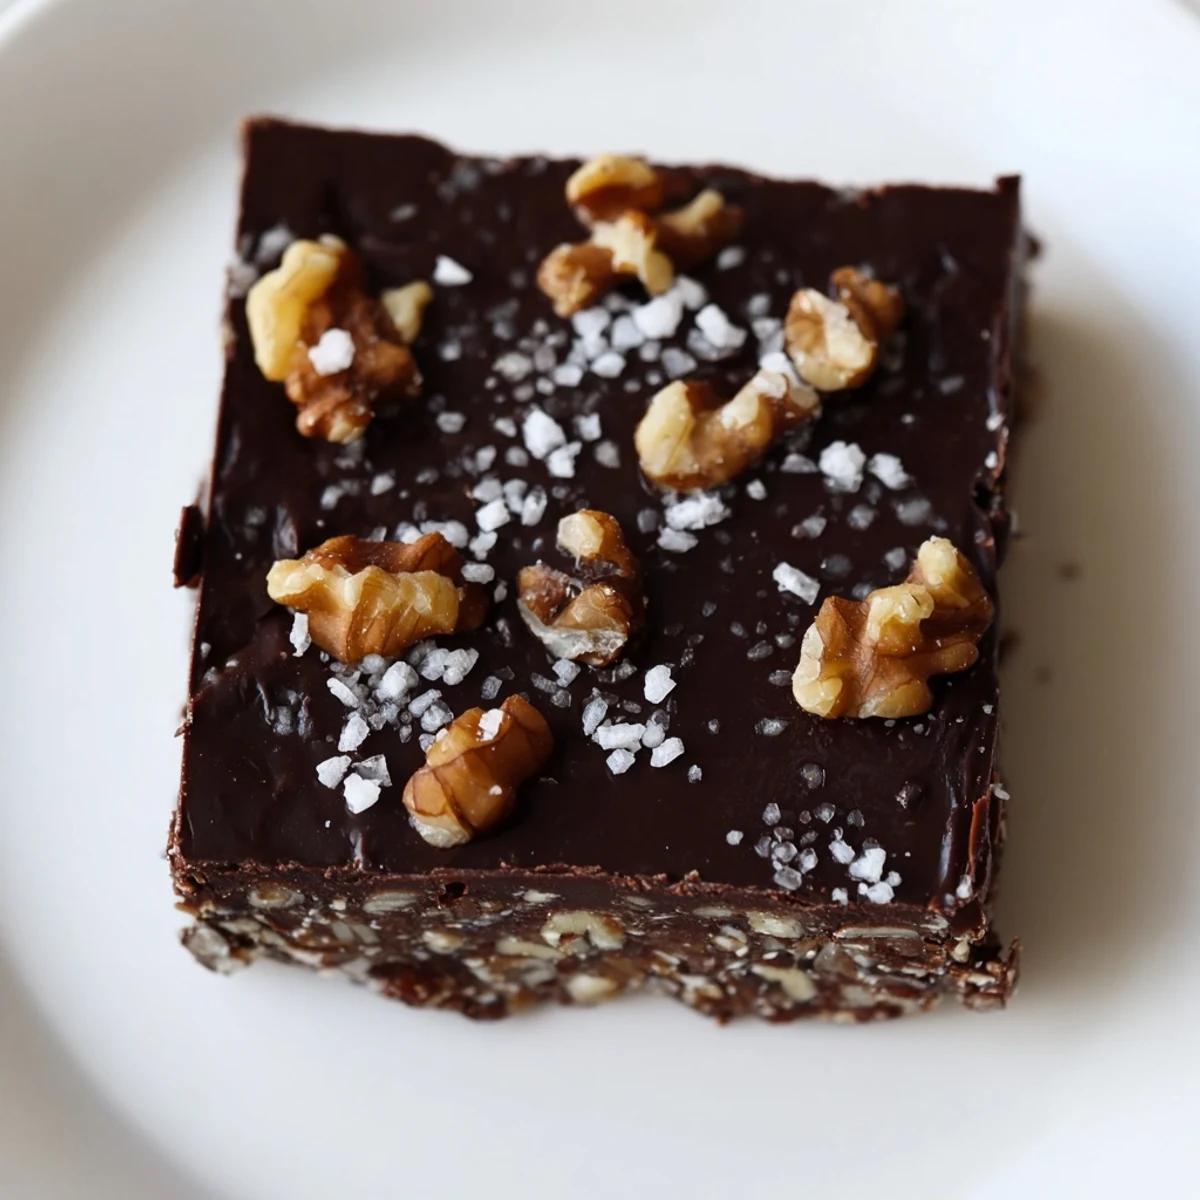
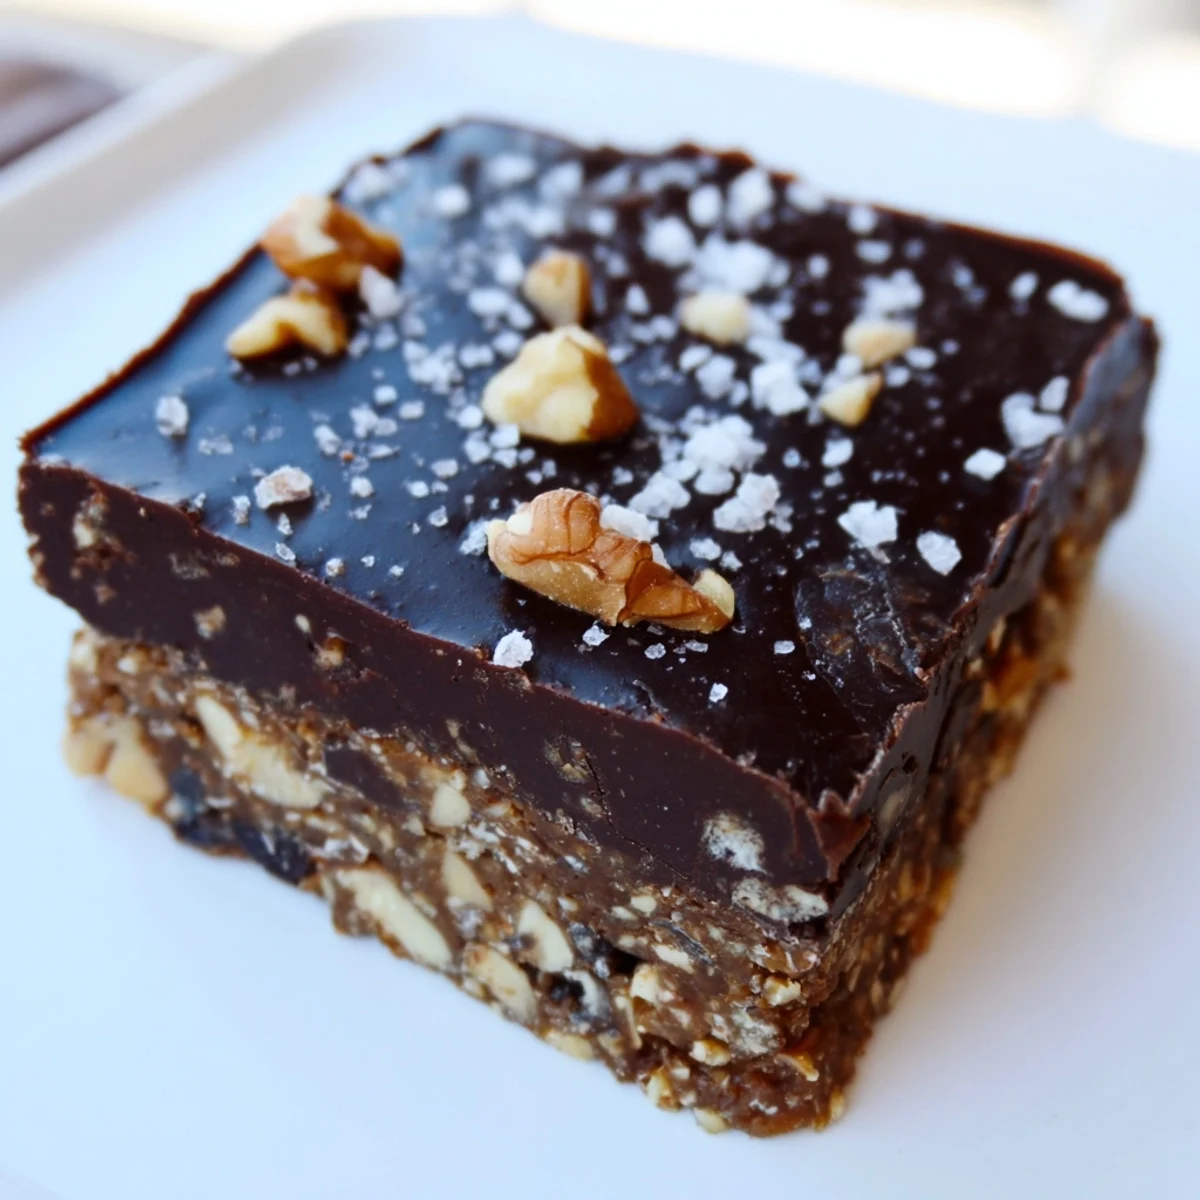
Save These indulgent no-bake bars feature a hearty base of walnuts, oats, and Medjool dates sweetened with maple syrup and almond butter. The base is topped with a glossy layer of dark chocolate mixed with coconut oil, then sprinkled with chopped walnuts and flaky sea salt for irresistible crunch and flavor contrast.
Simply pulse the base ingredients in a food processor, press into a pan, melt the chocolate layer, and chill until set. The entire process takes just 20 minutes of active time, with an hour of chilling to let the chocolate firm up.
Perfect for meal prep, these bars store beautifully in the refrigerator for up to a week. The combination of protein-rich nuts, naturally sweet dates, and antioxidant-dark chocolate makes them a satisfying treat that won't leave you reaching for another.
My sister called me at 9pm one Tuesday,声音panicked because she'd promised to bring dessert to a work potluck the next morning and had completely forgotten. I scanned my pantry, spotted a bag of dates and some dark chocolate, and told her to come over. We made these bars in under thirty minutes, laughing as chocolate ended up smeared across both our countertops. The next day, she texted me three times about how everyone kept asking for the recipe.
Last summer, I made these for a camping trip and discovered they travel surprisingly well when kept chilled in a cooler. My friends devoured them around the fire, insisting these couldn't possibly be healthy despite the dates and nuts providing most of the sweetness. Now they're my go to whenever I need something impressive that doesn't require turning on the oven.
Ingredients
- 1 cup raw walnuts, roughly chopped: Toast them lightly for 5 minutes if you want an even deeper nutty flavor, though raw works beautifully
- 1 cup rolled oats: Use certified gluten free if that matters to you pulse them briefly if you prefer a finer texture
- 1 cup Medjool dates, pitted and chopped: Soak in warm water for 10 minutes if they seem dry and stiff
- 2 tbsp natural almond butter: Creamy almond butter binds everything together better than the crunchy variety
- 2 tbsp pure maple syrup: Honey works too, but maple adds a subtle brightness that cuts through the rich chocolate
- 1/4 tsp fine sea salt: This tiny amount enhances all the other flavors without making the bars taste salty
- 200 g dark chocolate: Go for 70% cocoa or higher anything sweeter makes these cloyingly rich
- 1 tbsp coconut oil: This helps the chocolate set properly and gives it a gorgeous glossy finish
- 1/4 cup chopped walnuts and flaky sea salt: The finishing touch that makes these look bakery worthy
Instructions
- Prep your pan like you mean it:
- Crumple your parchment paper first, then smooth it out it will mold into the corners of your pan much more easily that way.
- Build the crunchy base:
- Pulse the walnuts and oats until they resemble coarse breadcrumbs, then add everything else and process until the mixture starts clumping together in the food processor.
- Press it down tight:
- Use the bottom of a measuring cup or glass to really compact the mixture into your pan an even layer means consistent bars later.
- Melt the chocolate slowly:
- Stir your chocolate and coconut oil constantly, whether using a double boiler or microwave patience prevents seizing and grainy texture.
- Top it off:
- Pour the chocolate immediately after melting, tilt the pan to spread it evenly, then scatter walnuts and salt while the chocolate is still glossy and wet.
- The waiting game:
- Chill for at least an hour, but honestly two is better you want the chocolate completely firm before cutting.
- Clean cuts matter:
- Warm your knife under hot water and wipe it dry between cuts for the cleanest edges, and use a gentle sawing motion.
 Save
Save These bars have become my emergency dessert for so many occasions now, from unexpected guests to late night cravings when I want something sweet but not guilt inducing. There's something satisfying about making something so indulgent feeling from such wholesome ingredients.
Making Them Your Own
I've swapped the walnuts for pecans around the holidays and added a pinch of cinnamon to the base. Once I stirred some freeze dried raspberries into the melted chocolate for a Valentine's Day version that looked absolutely stunning with the red specks against the dark chocolate.
Storage Secrets
These keep for a week in the refrigerator, though I've never had them last that long. You can also freeze them for up to three months just wrap individual bars in parchment paper first, then thaw in the fridge overnight.
Serving Ideas
Serve them slightly chilled for the best texture experience the chocolate snaps when you bite through to the soft base. I love cutting them smaller for parties, about 24 pieces instead of 16, so people can try multiple desserts without feeling overwhelmed.
- Pair with espresso after dinner
- Crumble over vanilla ice cream
- Package in parchment for homemade food gifts
 Save
Save Keep a batch in your freezer for those moments when you need something sweet but made from real food. They've saved me more times than I can count.
Recipe Questions & Answers
- → Do I need to bake these bars?
-
No, these are completely no-bake bars. The base sets from pressing it firmly into the pan, and the chocolate layer firms up in the refrigerator. No oven required!
- → Can I use different nuts?
-
Absolutely. Pecans, almonds, or hazelnuts work beautifully in place of walnuts. You can also swap the almond butter for any other nut butter you prefer.
- → How should I store these bars?
-
Keep them in an airtight container in the refrigerator for up to one week. The chocolate stays firm and the texture remains perfect when chilled. You can also freeze them for longer storage.
- → Is this dessert vegan-friendly?
-
Yes, if you use dairy-free dark chocolate (many dark chocolates 70% or higher are naturally vegan). Check the label to ensure no milk ingredients are included.
- → What percentage of dark chocolate works best?
-
Aim for 70% cocoa or higher for the best balance of sweetness and intensity. Higher percentages yield a richer, less sweet finish that pairs beautifully with the dates.
- → Can I reduce the sweetness?
-
You can reduce or omit the maple syrup if your dates are very soft and sweet. The dates provide plenty of natural sweetness, so the maple syrup is more for binding than flavor.