 Save
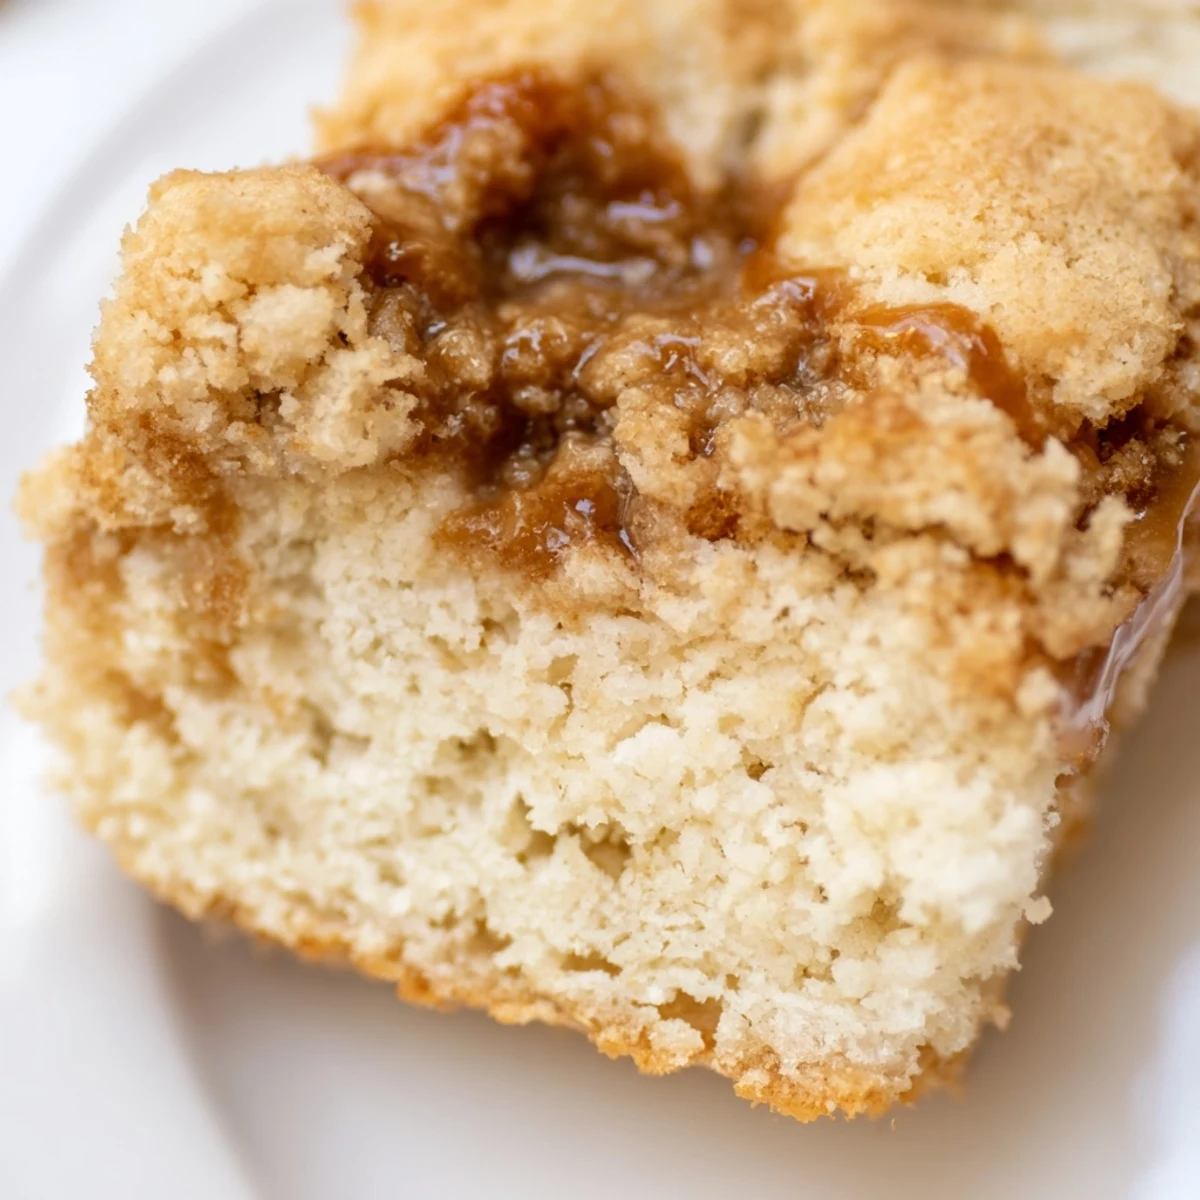
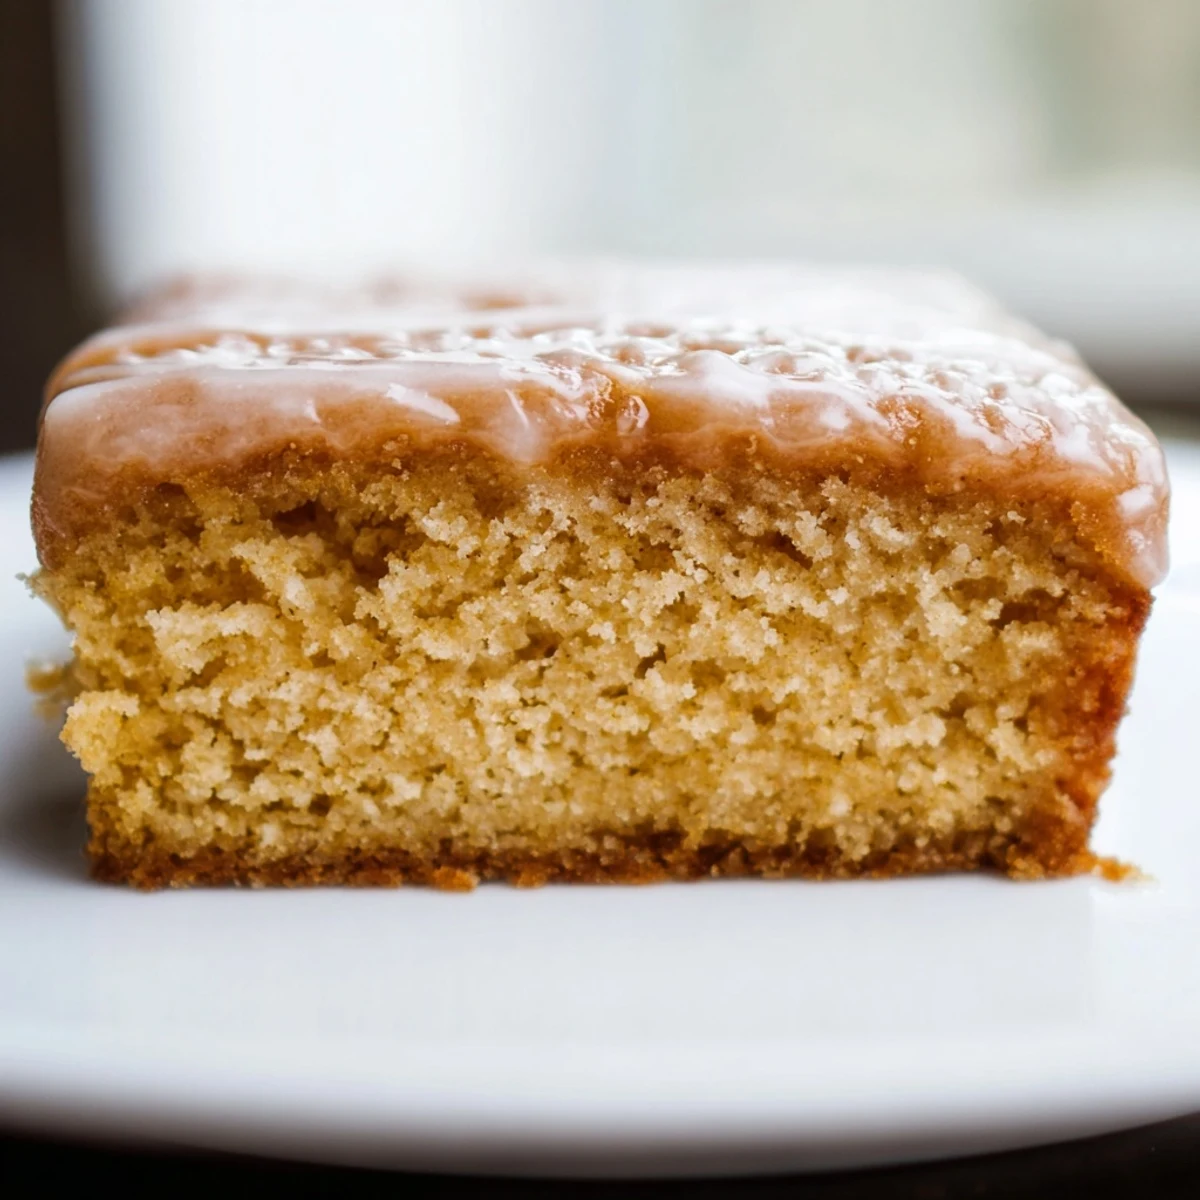
Save These soft, cake-like treats feature a comforting blend of maple syrup and brown sugar. After baking, they are topped with a rich, sweet maple glaze made from butter, syrup, and powdered sugar. Easy to prepare in under an hour, they are perfect for a cozy afternoon snack paired with your favorite hot beverage.
There's something about the smell of maple that fills a kitchen with instant comfort—the kind that makes you stop what you're doing and just breathe it in. I discovered these bars on a chilly Saturday morning when a friend brought them to our coffee gathering, and honestly, I've been making them ever since. They're soft, tender, and the glaze is the kind of thing you catch yourself licking off your fingers when no one's looking. Once you taste that maple-forward sweetness paired with buttery cake, you understand why they disappear so fast.
I made these for my partner's family on Thanksgiving morning, and his mom actually asked for the recipe before dessert was even done baking—which felt like the highest compliment. The bars were still slightly warm, the glaze was just set, and we all just sat there eating them straight from the pan like it was the most natural thing in the world. That's when I knew I'd nailed it.
Ingredients
- Unsalted butter (1/2 cup, softened): Softened butter is your friend here—it creams so much better with the sugar when it's at room temperature, making the bars tender instead of dense.
- Light brown sugar (1 cup, packed): Don't skip the packing step; it gives you the right amount and adds a subtle molasses note that plays beautifully with the maple.
- Large eggs (2): Room temperature eggs incorporate more evenly, creating a lighter crumb structure that keeps these bars cake-like.
- Pure maple syrup (1/2 cup): This is where the magic lives—use real maple syrup, not the pancake kind, because the flavor difference is everything.
- Vanilla extract (1 tsp): A small amount that ties together the sweetness and adds a subtle warmth to the background.
- All-purpose flour (1 3/4 cups): Measured by spooning and leveling, not scooping, which prevents packing too much flour into the batter.
- Baking powder (1/2 tsp) and baking soda (1/2 tsp): Together they give these bars just enough lift to stay tender and cake-like without being cakey.
- Salt (1/4 tsp): A pinch that enhances the maple flavor and balances the sweetness.
- Maple syrup for glaze (1/4 cup): Same pure quality as above—this coats the top and seals in that maple identity.
- Powdered sugar (1 cup, sifted): Sifting removes lumps and gives the glaze a smooth, pourable consistency.
Instructions
- Prep Your Pan:
- Preheat the oven to 350°F and line your 9x9-inch pan with parchment paper, letting it overhang slightly on two sides for easy lifting later. A light grease under the parchment keeps everything from sticking and makes cleanup effortless.
- Cream the Butter and Sugar:
- Beat softened butter and brown sugar together for about 2–3 minutes until the mixture is pale and fluffy—this incorporates air that keeps the bars tender. You'll notice the color shift and the texture become lighter; that's your signal you're on the right track.
- Add Eggs and Maple Syrup:
- Add eggs one at a time, beating well after each one, then pour in the maple syrup and vanilla extract. Mix until everything is well blended and the batter looks smooth and cohesive.
- Combine Dry Ingredients:
- In a separate bowl, whisk together flour, baking powder, baking soda, and salt to distribute the leavening agents evenly. This step prevents lumps and ensures the bars rise uniformly.
- Fold Together:
- Pour the dry mixture into the wet ingredients and stir just until combined—don't overmix, which can toughen the bars. Stop as soon as you don't see any flour streaks; that's your cue to move on.
- Spread and Bake:
- Transfer the batter to your prepared pan, smooth the top with a spatula, and bake for 22–25 minutes until a toothpick inserted in the center comes out clean. The bars should look set but still slightly soft to the touch.
- Make the Glaze:
- While the bars cool completely, melt butter with maple syrup over low heat in a small saucepan, then whisk in sifted powdered sugar, vanilla, and a pinch of salt until smooth. The warmth from the pan will help dissolve the sugar into a glossy glaze.
- Glaze and Set:
- Spread the glaze evenly over the cooled bars and let it set for at least 30 minutes before slicing into 16 pieces. Patience here means a glaze that holds together instead of sliding off.
 Save
Save There was this one afternoon when I made these bars and my neighbor stopped by just as the smell hit the hallway—within minutes, she was sitting at my kitchen counter with a warm bar and a cup of tea, telling me stories about her grandmother's kitchen. That's when I realized these bars are more than just a dessert; they're a conversation starter, a reason to sit down and slow down together.
Customizing Your Bars
These bars are a wonderful blank canvas for your own touches. I've folded in toasted pecans or walnuts for extra texture, and the difference is subtle but noticeable—they add a little crunch that plays against the soft crumb. You can also experiment with the glaze by using a touch of bourbon or rum in place of some of the maple syrup, though a pinch of cinnamon works beautifully too if you want to lean into warm spice notes.
Storage and Longevity
Keep these bars in an airtight container at room temperature, and they'll stay soft and tender for up to four days—though they rarely last that long in my house. If you want to make them ahead, you can freeze the unglazed bars for up to a month, then thaw them, glaze them fresh, and serve them whenever you need that instant comfort.
Perfect Pairings
These bars shine with a hot beverage; I love them with black coffee, but chai tea or hot cider works just as well. They're also wonderful alongside fresh whipped cream or a small scoop of vanilla ice cream if you're feeling indulgent, turning a simple bar into something that feels celebratory.
- Brew a strong cup of coffee to cut through the sweetness and balance the richness.
- If serving at a gathering, slice them into smaller pieces—they're rich, and a little goes a long way.
- Let them sit out for five minutes after slicing so the glaze sets completely and the flavors are at their warmest.
 Save
Save These maple bars have become my go-to when I want to feel like I've made something special without the stress. They're the kind of recipe that quietly becomes a tradition.
Recipe Questions & Answers
- → How should I store these bars?
-
Store the cooled bars in an airtight container at room temperature for up to three days to maintain their soft texture.
- → Can I add nuts to the batter?
-
Yes, fold in half a cup of chopped toasted pecans or walnuts into the batter before baking for added crunch and flavor.
- → What is the texture like?
-
The texture is soft and cake-like, similar to a coffee cake, making them perfect for dipping in tea or coffee.
- → Can I make them gluten-free?
-
Substitute the standard all-purpose flour with a gluten-free measure-for-measure flour blend to prepare a gluten-free version.
- → How do I make the glaze smooth?
-
Ensure the powdered sugar is sifted before whisking it into the warm butter and maple syrup mixture to prevent lumps.